Inventor is a complex software used to create 3D models. It is one of the many softwares available for designing 3D models. Inventor can be used to create complex 3D models, assemblies, drawings, and animations. Inventor is a very diverse software that can be used in multiple different ways. Softwares like this are essential to 3D printing and CNC machines.
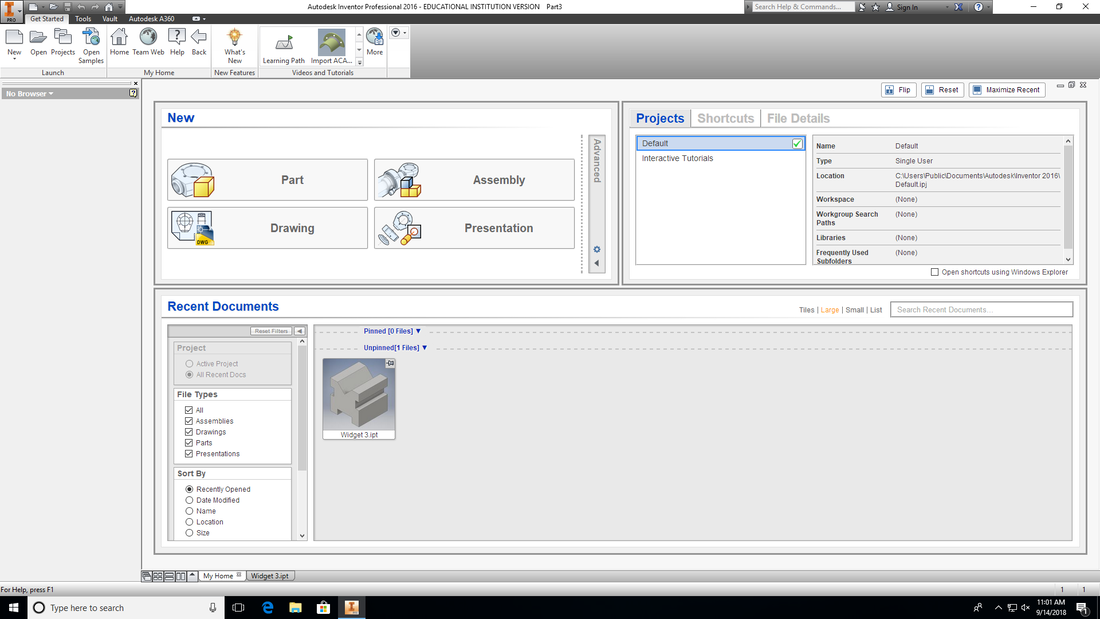
When you open inventor it will take you to this menu. From here you'll want to select part to start your widget.
|
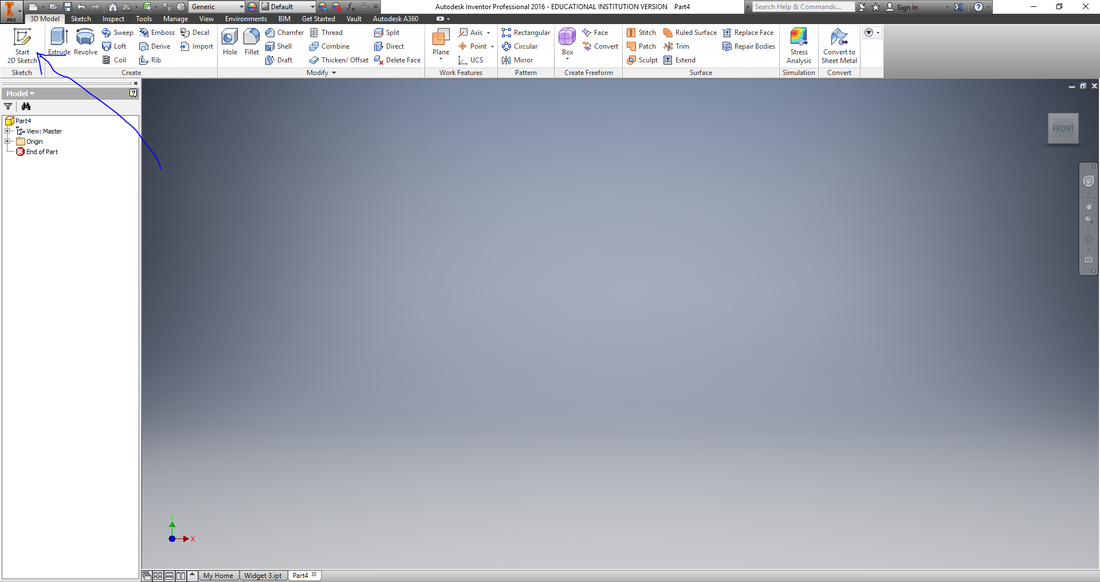
The first thing you should do when you open the part is clicking start 2D sketch in the top left corner of the screen.
|
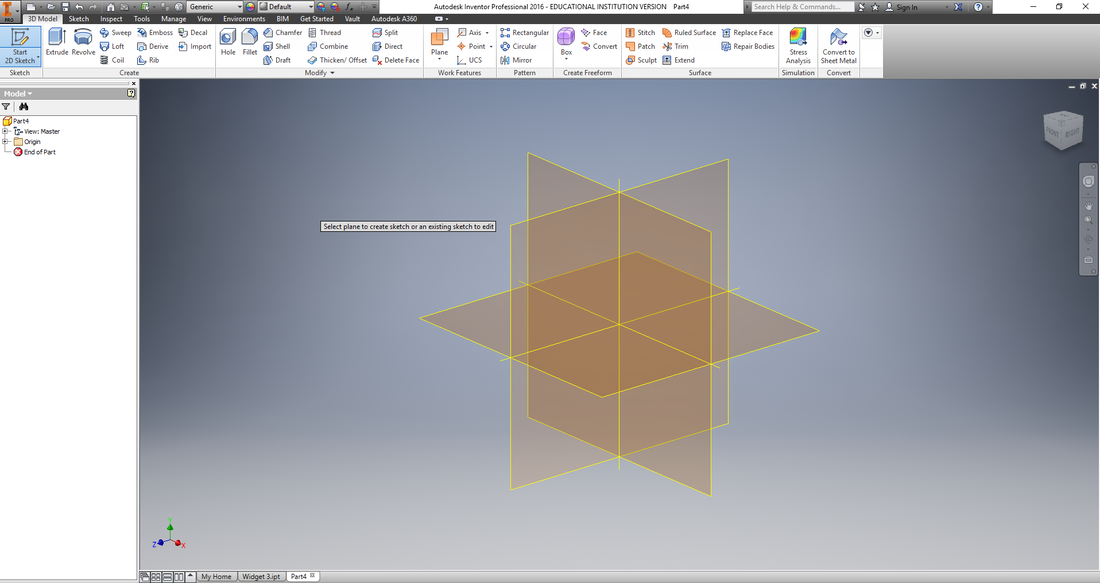
From there it will take you to where you select which plane you'll be working on. You will want to select the XY plane.
|
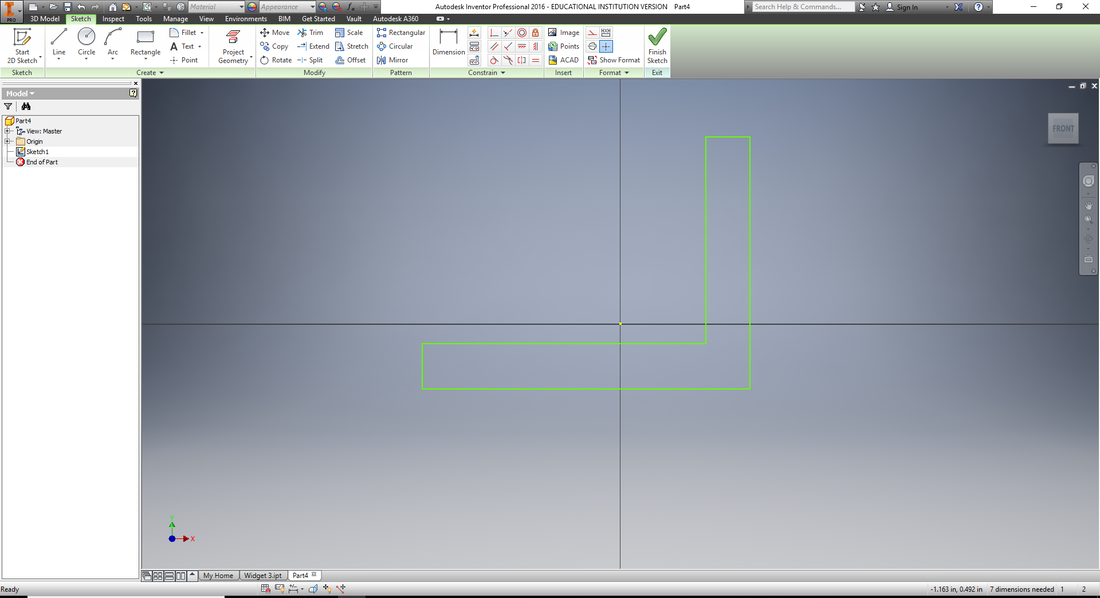
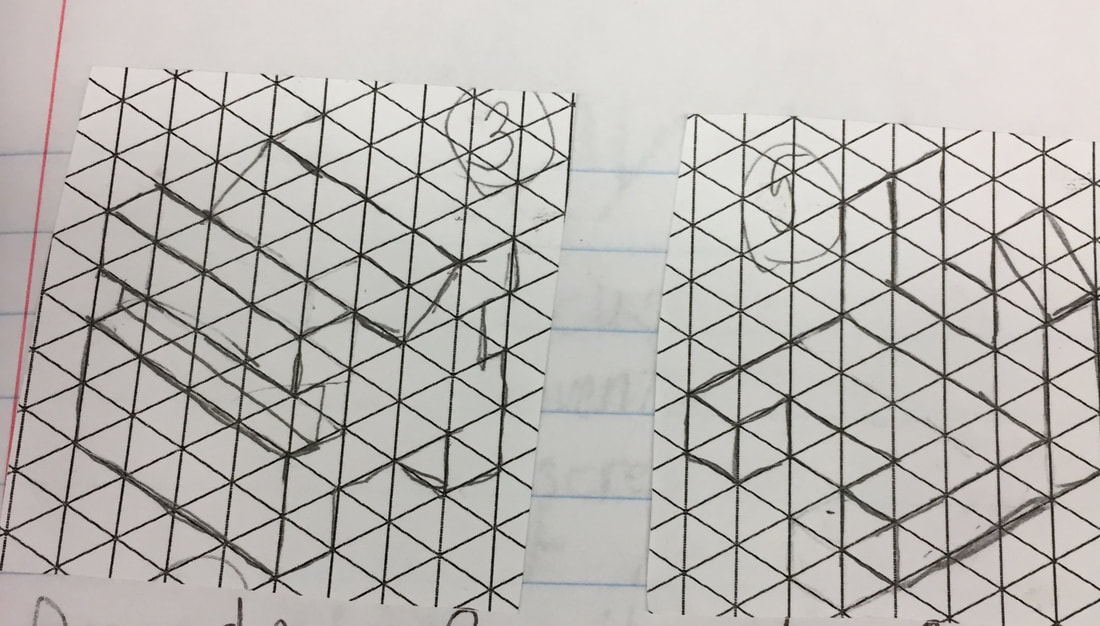
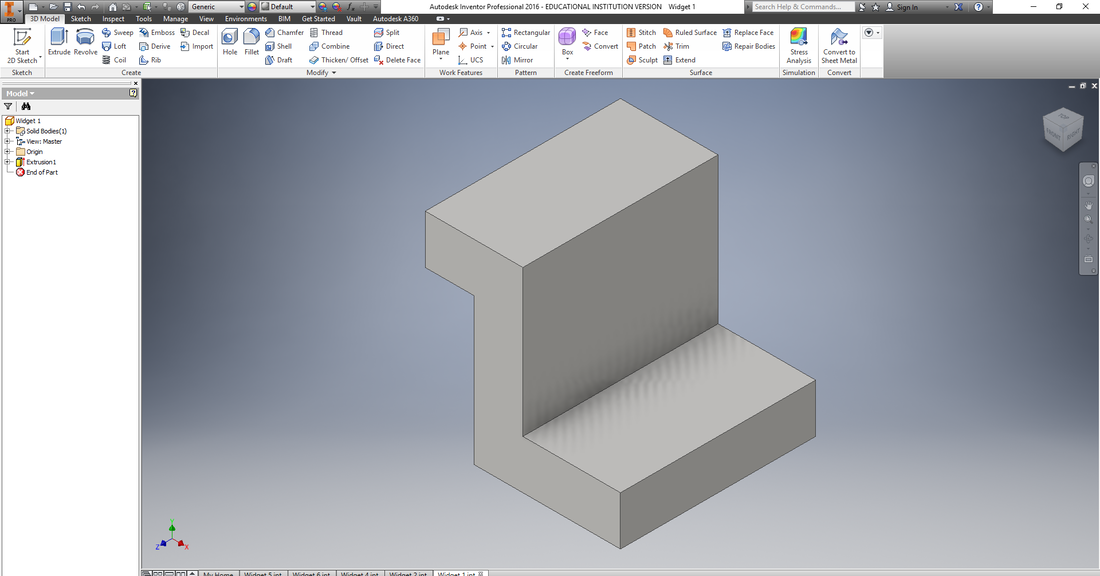
The first thing you are going to want to do is draw a rough L shape.
|
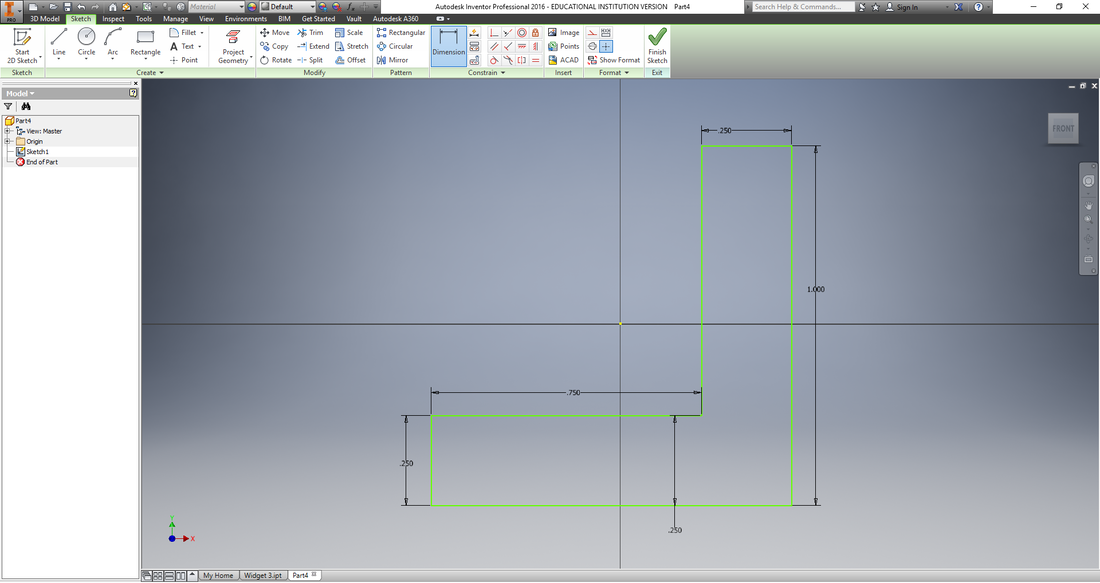
You then will dimension the subject as shown above.
|
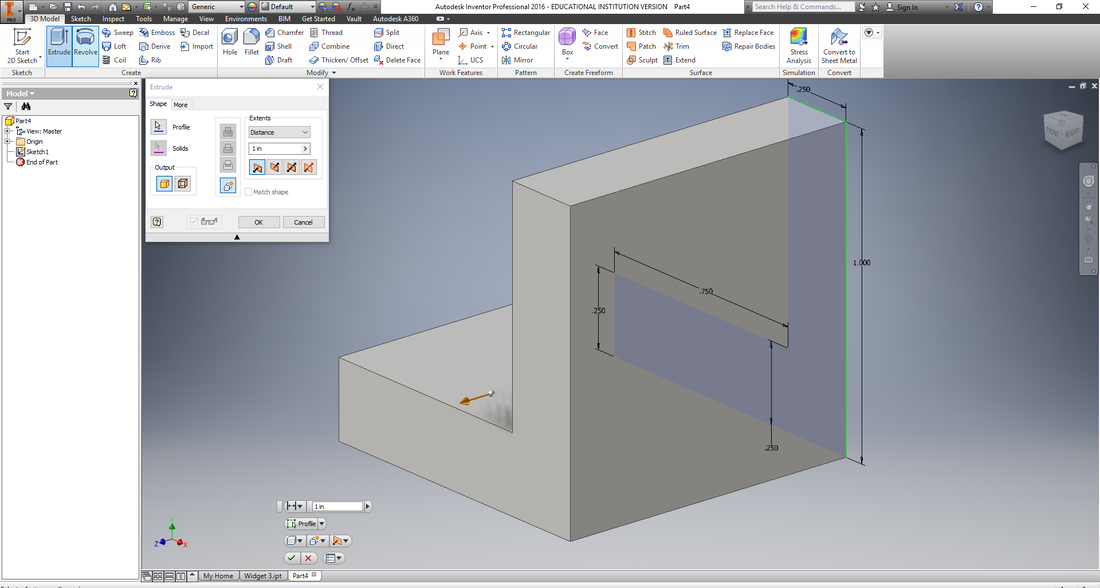
You should then extrude the shape to 1 inch.
|
|

|
|
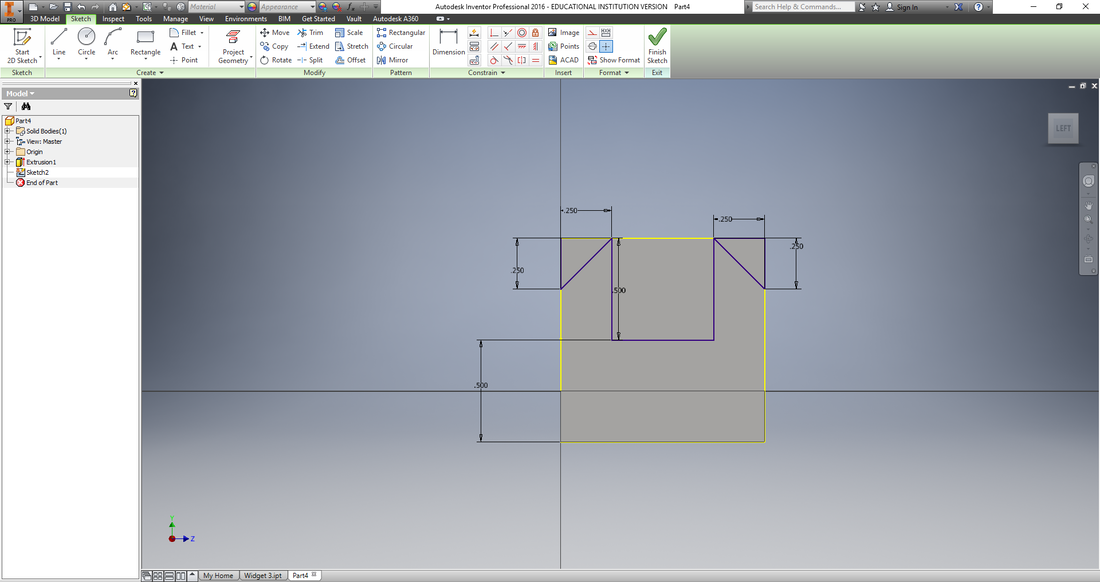
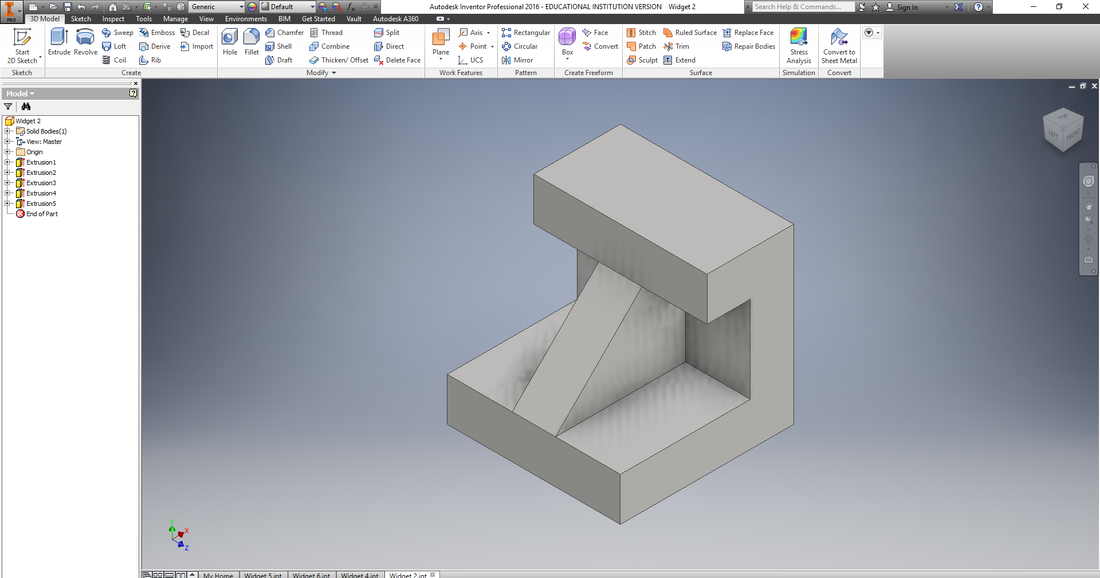
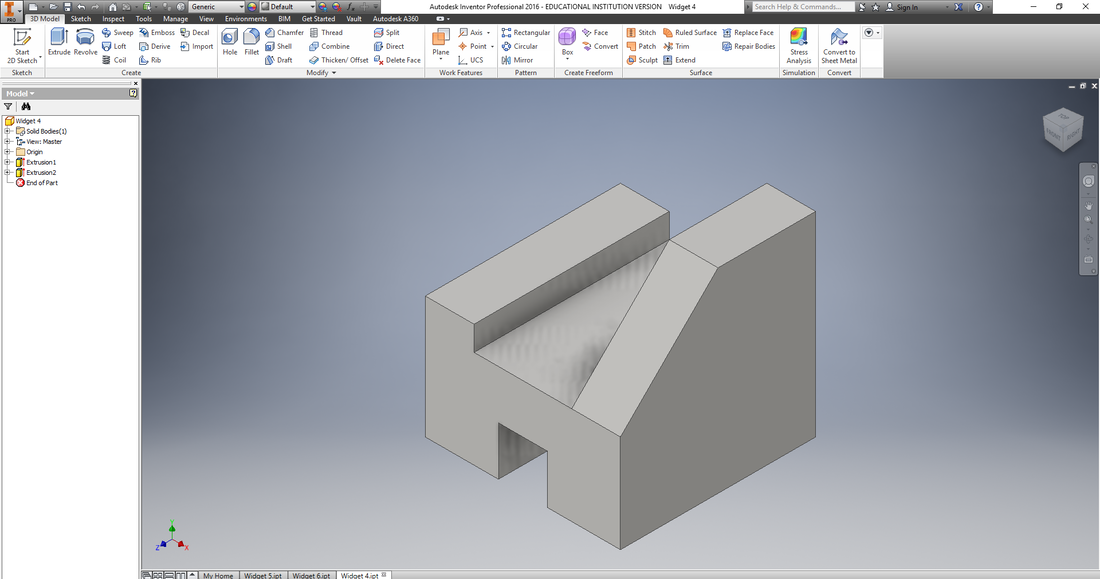
After that, start a sketch on the back side of the object and make it so there are two equal half triangles facing inwards and dimension these lines as shown above.
|
After you create the sketch correctly, you should then press the extrude button but this time press the button that looks like an orange rectangle going backwards. This should be directly to the right of the button usually using in extruding. When you press that button you should be able to cut out what you need to of the shape.
|
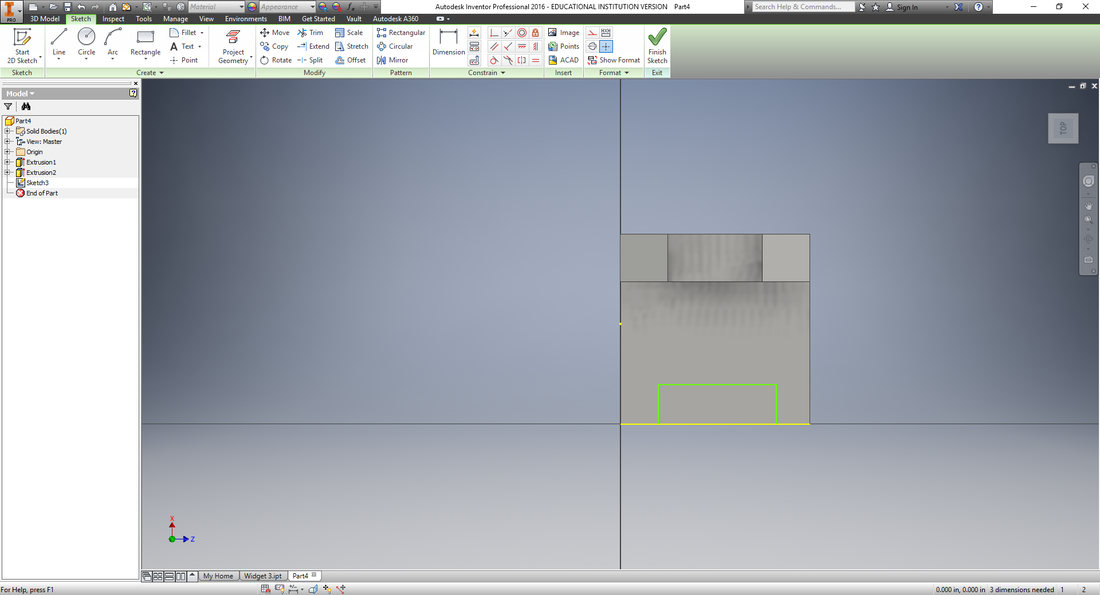
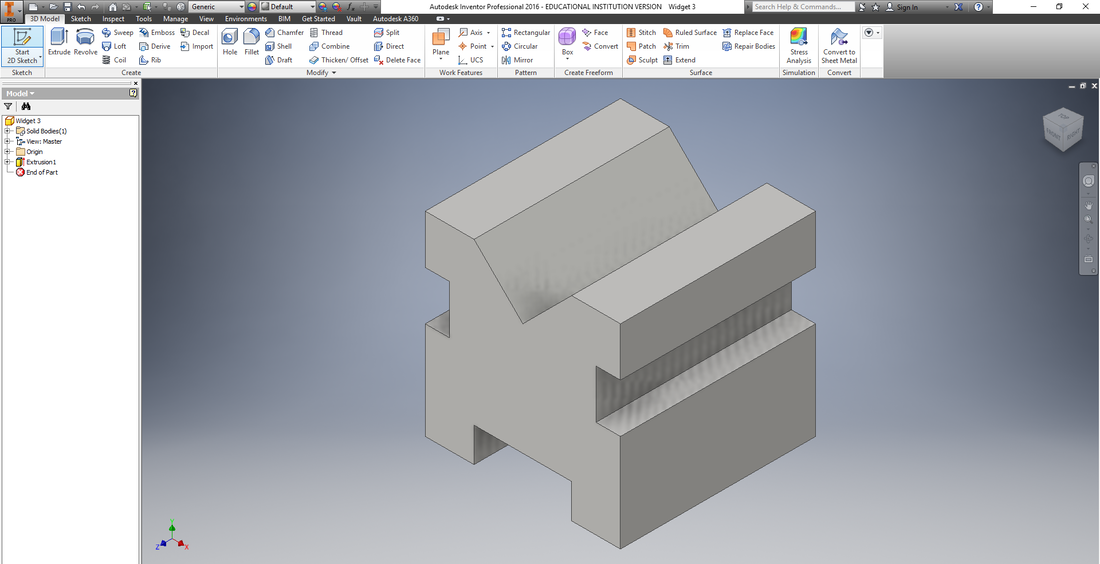
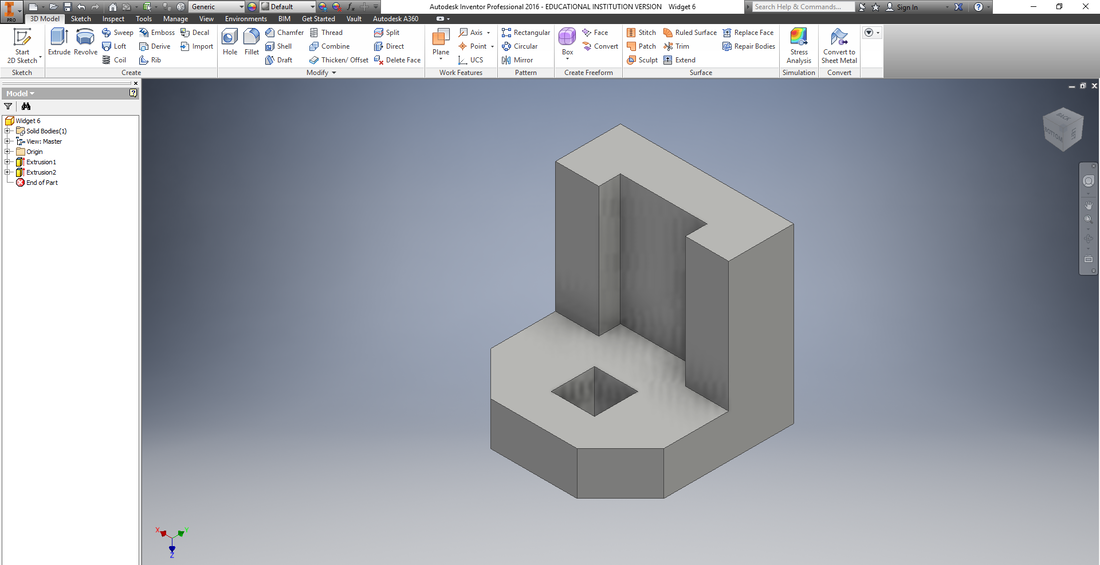
Now you will want to draw a rough rectangle in the area shown above.
|
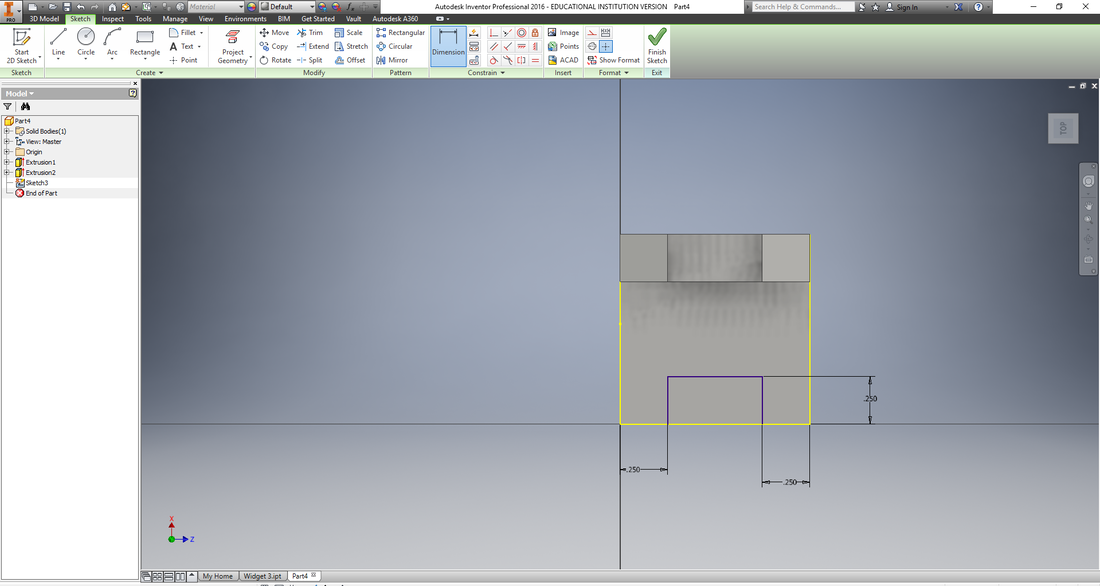
You will then want to dimension the rough rectangle the way that is shown in the picture above.
|
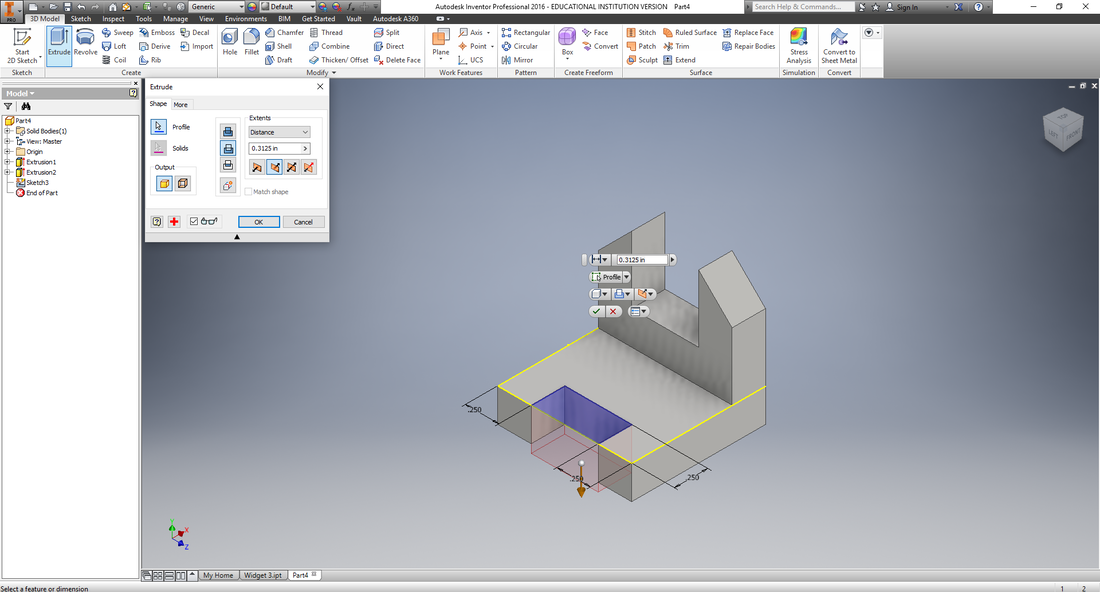
After you dimension and finish the rectangle correctly, you should do the same thing you did cutting before.
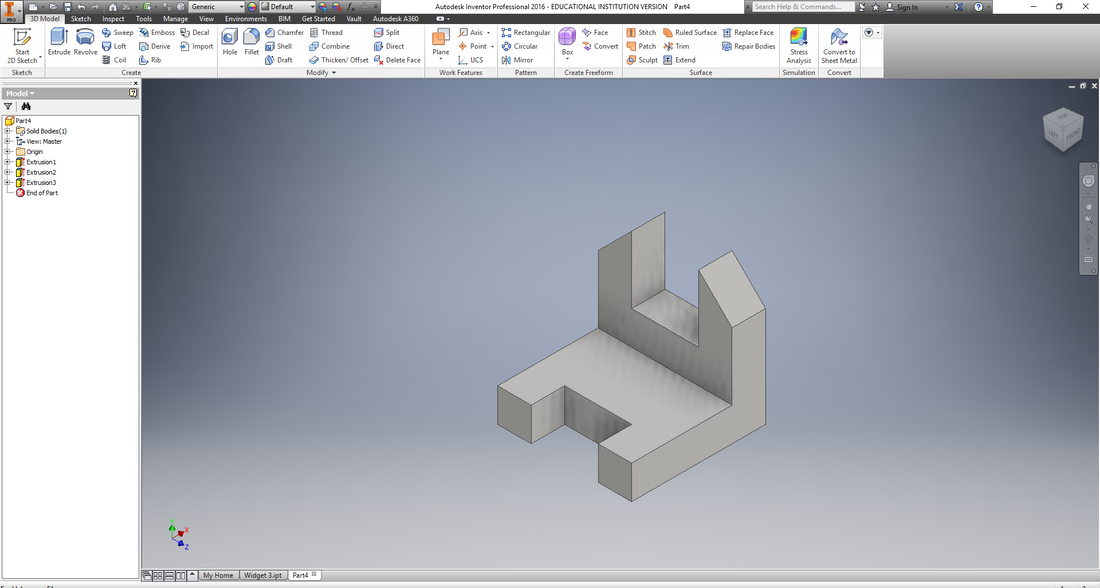
After you finish the cut you will then go click the button in the top right of where you go to save your progress and click export. From there you'll be given some options on which file you want. You're going to want it in CAD Format. You should save that to your student number or wherever you are saving the project as an STL file.
|
|
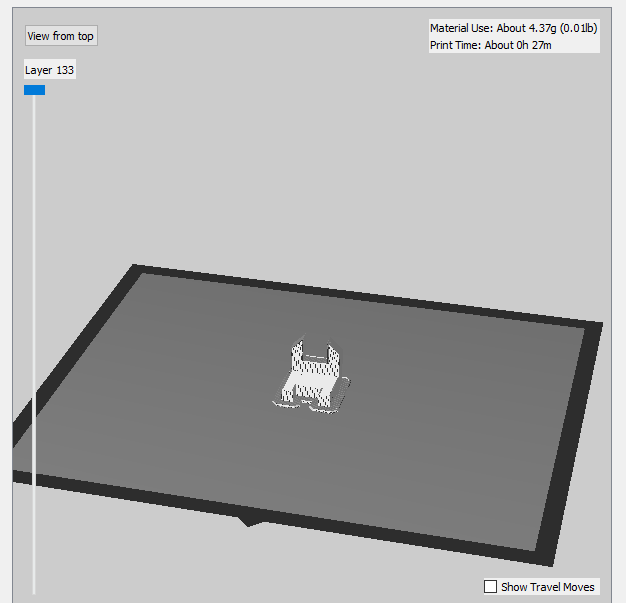
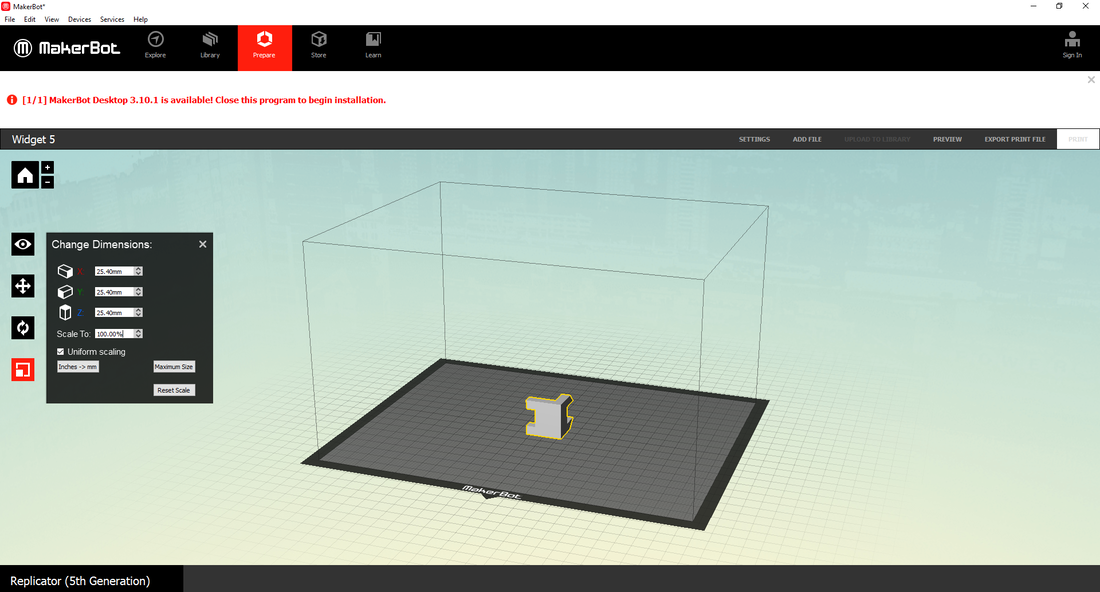
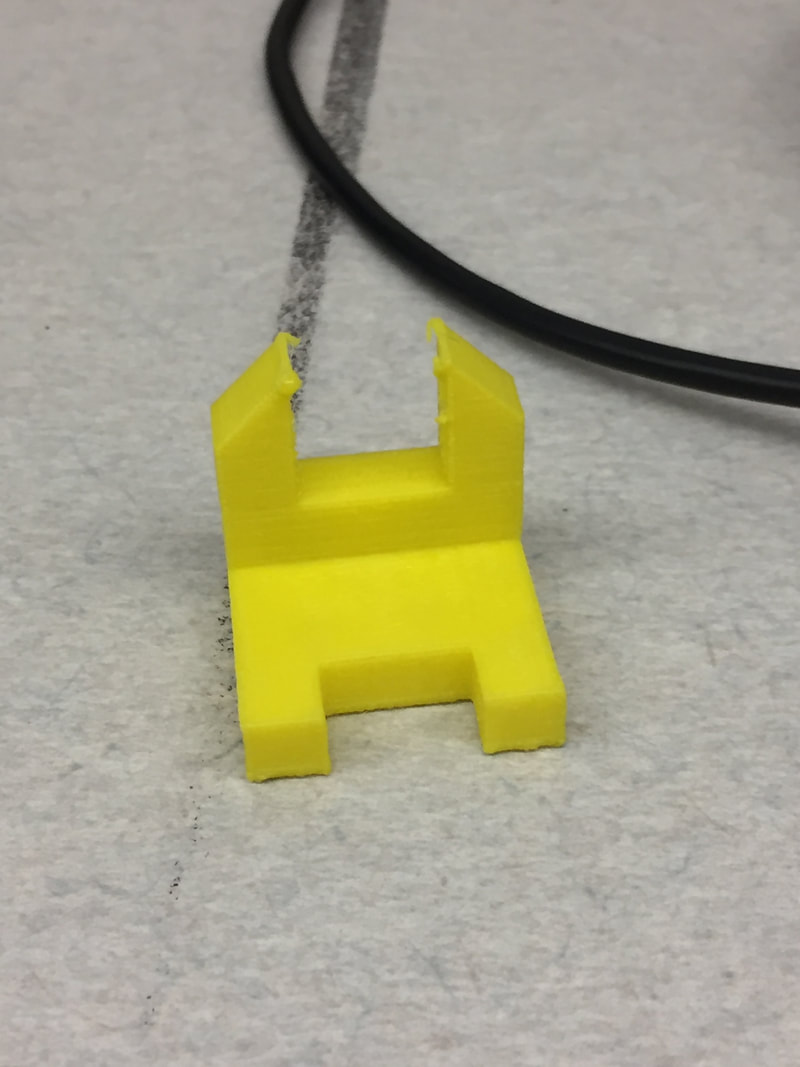
What you will want to do next is going into MakerBot by typing by clicking the button in the bottom left corner and then typing MakerBot. In MakerBot you should then go to the prepare tab. When you go into the prepare tab you will click the "add file". You will then select the STL file that you saved from inventor. That will put the image in the MakerBot desktop. It will then immediately ask you if you want to rescale the object. DON'T RESCALE IT! Decline the message then you should click the bottom most tool and click on the object. Then you'll have to go to the percentage and change it from 100% to 1000%. That will scale the object up to the scale that you want. Then you should rotate the object for the best possible printing results. Click preview and export and then save it to your flash drive. You are now ready to print.
|
|
|
|
|
What I learned |
|
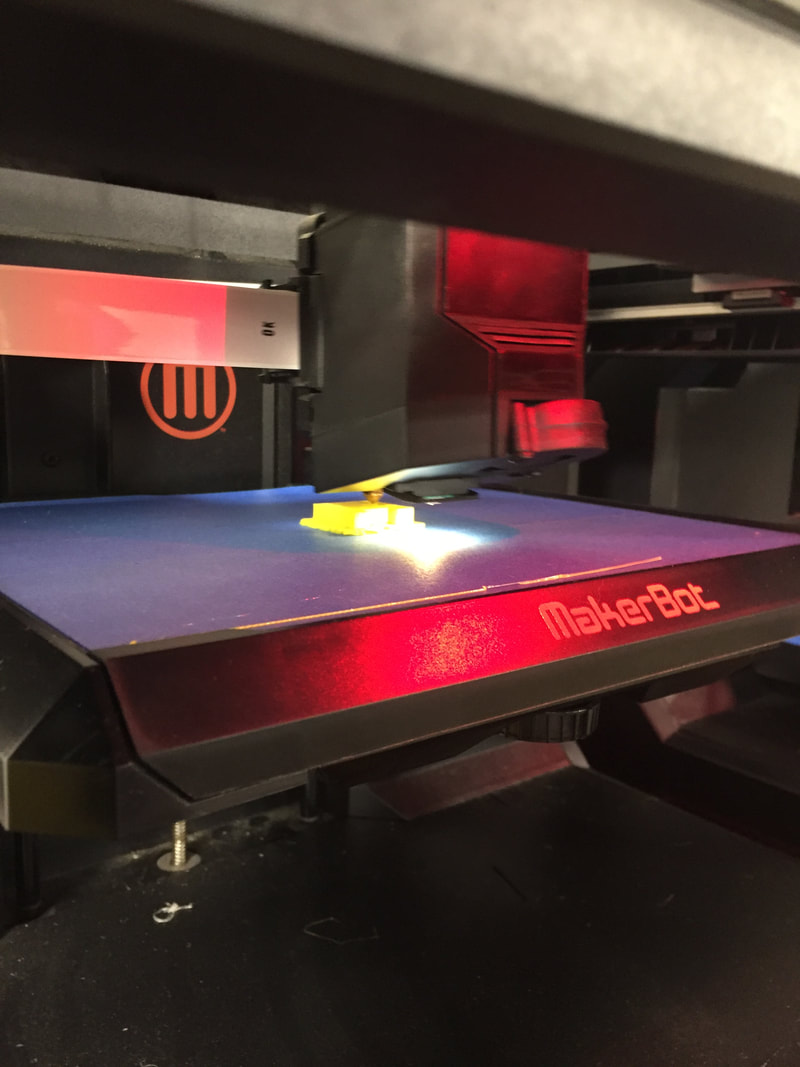
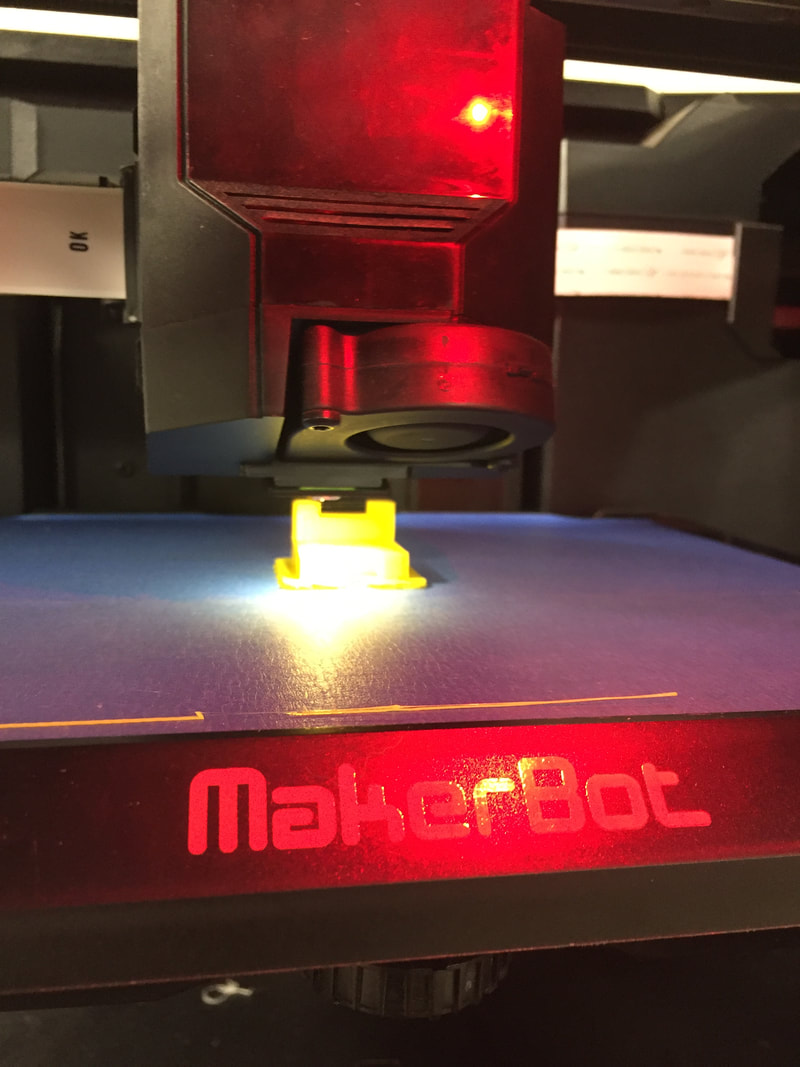
In this project in 3D printing I learned how to approach inventor in multiple different ways. I learned how to work more effectively in inventor and expanded my knowledge of cutting out different parts of the widgets. I also learned how to convert inventor made objects into MakerBot and then print them out. In this process I learned how to use a 3D printer and what 3D printing looks like. Creating this website has also got me to learn new tools I can use in computers. For example, I didn't know how to take a screenshot on computers and I learned that. I learned a lot from this experience and now I know how to print things in 3D, create a website, and use more inventor more effectively.
