Illustrator |
Illustrator is a design software used by artists, engineers, and creative professionals to create vector images. The images that can be created can also be used in many different ways such as logos, vinyls, or even laser cutting. One of the many unique features of Illustrator is being able to convert raster images into vector images.
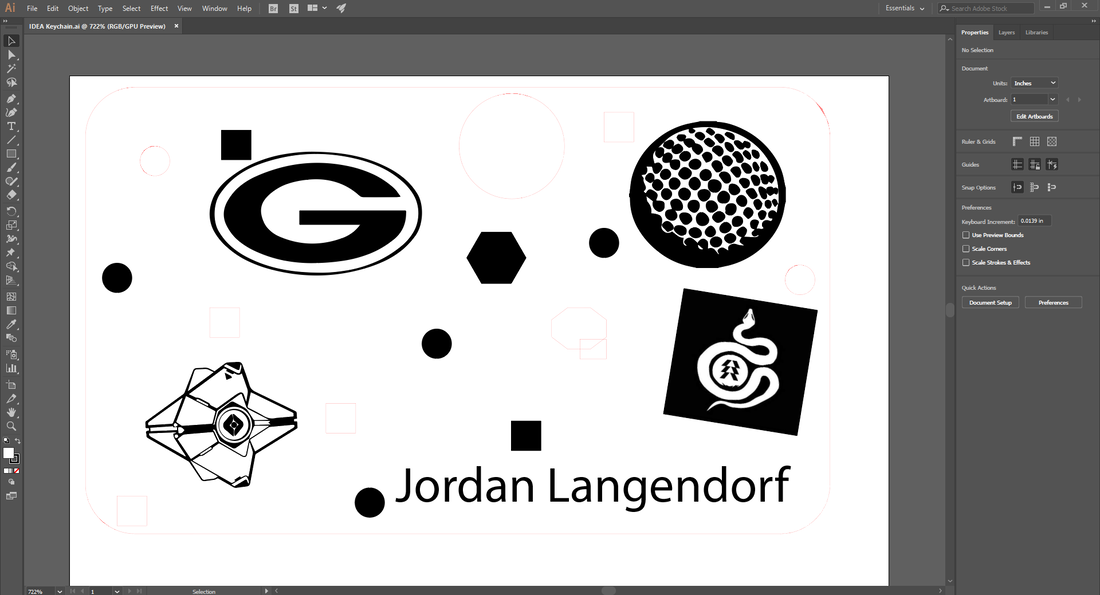
First you will have to create an art board that is 2.75 inches wide and 1.75 inches tall. You will then want to create your outline for your key chain which you can make as large as you want as long as it stays view able on the white. You'll then want to create your design with shapes and/or images. You can do this by inserting shapes using the shape tool in illustrator which should look like a rectangle when you first see it and if you want other shapes just click on the rectangle and select the shape you want. You can also copy and paste pictures from the internet which is what I did for most of my big images. However, if you do this you'll also have to image trace it and then expand it. You do this by clicking the image and then selecting image trace and choosing whichever trace. After that, you click expand and it should result in your image becoming a vector image. You can also add text by clicking the text button that looks like a capital T and placing it by clicking. If you want to cut stuff out you just have to change the outline to red and to .0001 pt. Now you save it to your flash drive.
|
|
|
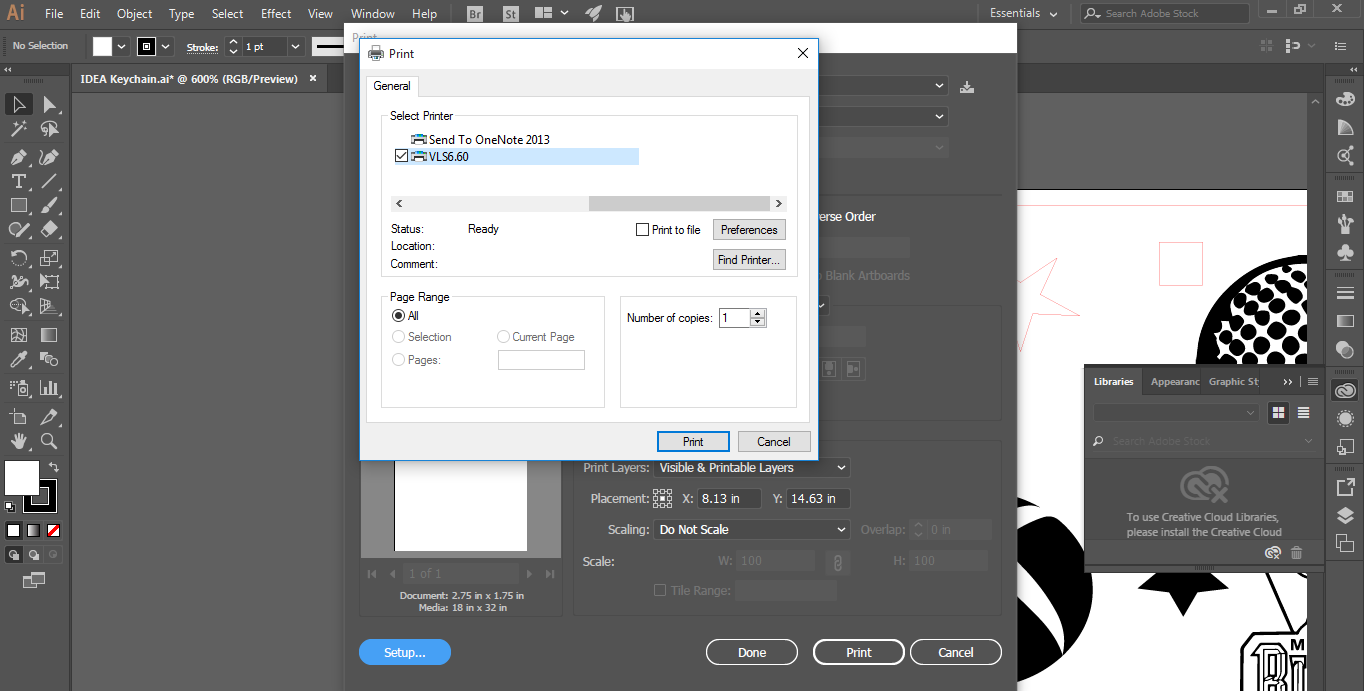
First thing you're going to want to do once you finish your design is heading down to the laser when you think it is ready and clicking the view tab then selecting "Preview on CPU". You then should select file and go to print. Then you should select VLS. After that, click on preferences.
|
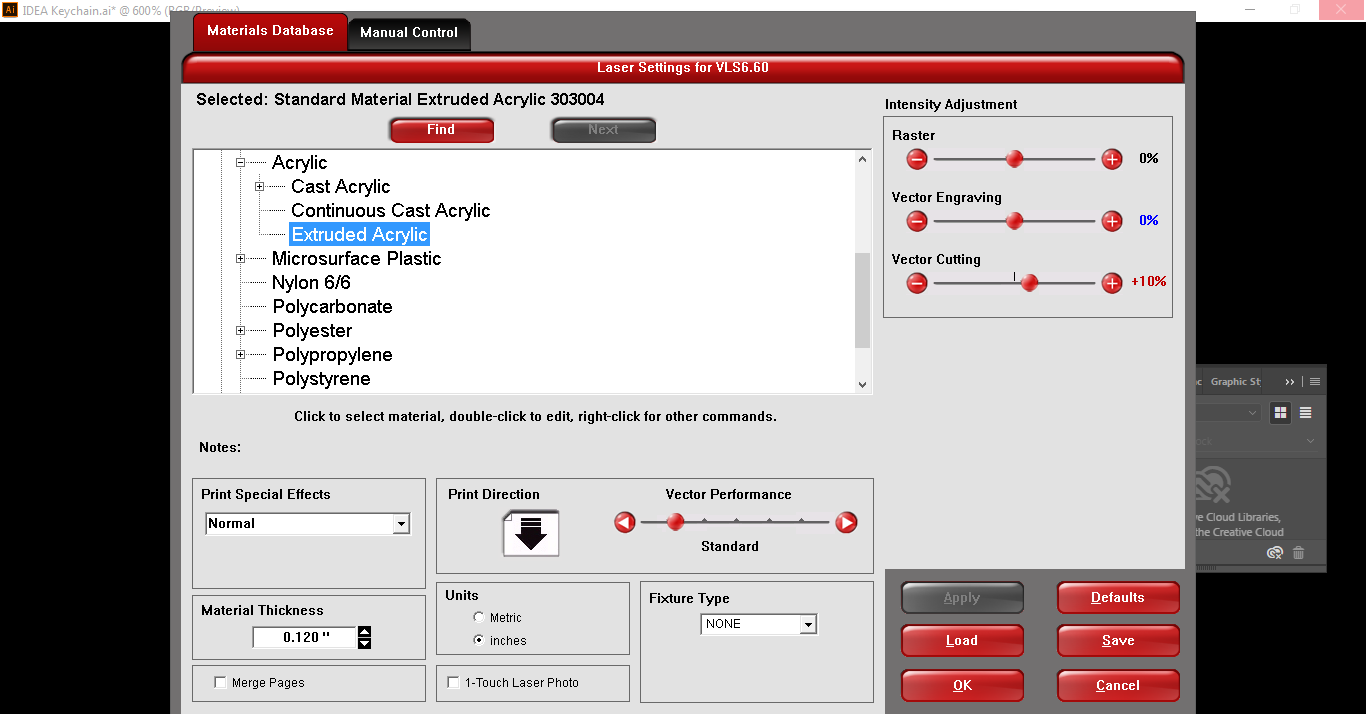
From there you will be taken to a preferences screen where you'll want to find a good piece of acrylic to use for your key chain. You should then use a vernier caliper to measure the thickness of your selected piece of acrylic. When you measure the acrylic you should enter it where it says material thickness in the bottom left corner of the screen. After you entered the measurement, you should select plastic, then acrylic, and finally extruded acrylic. Then click okay and go into the UCP software and load the file you saved on your flash drive.
|
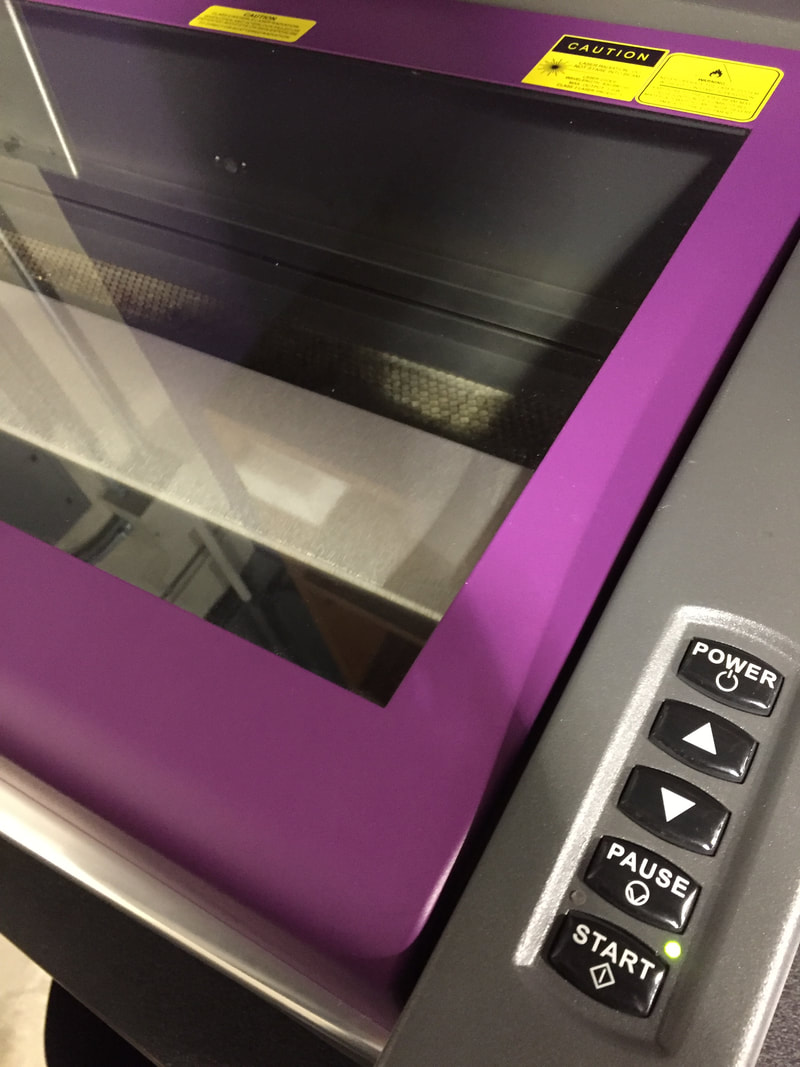
Then, using the laser relocation tool, you should get the laser to line up with your chosen piece of extruded acrylic. Once this is done and the previous steps have been completed, you can press the click the green button in the UCP software to begin printing the key chain.
|
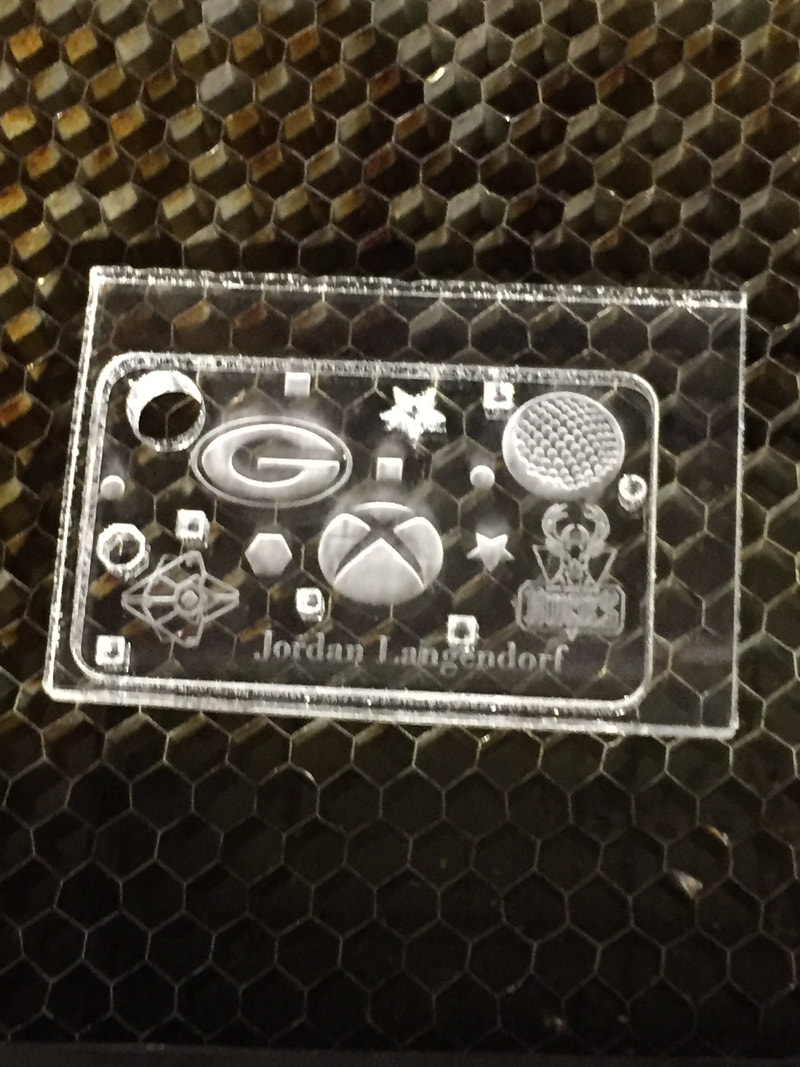
Once it is finished printing, you can then pop out any shapes you cut out of your key chain and pop out the key chain itself.
|
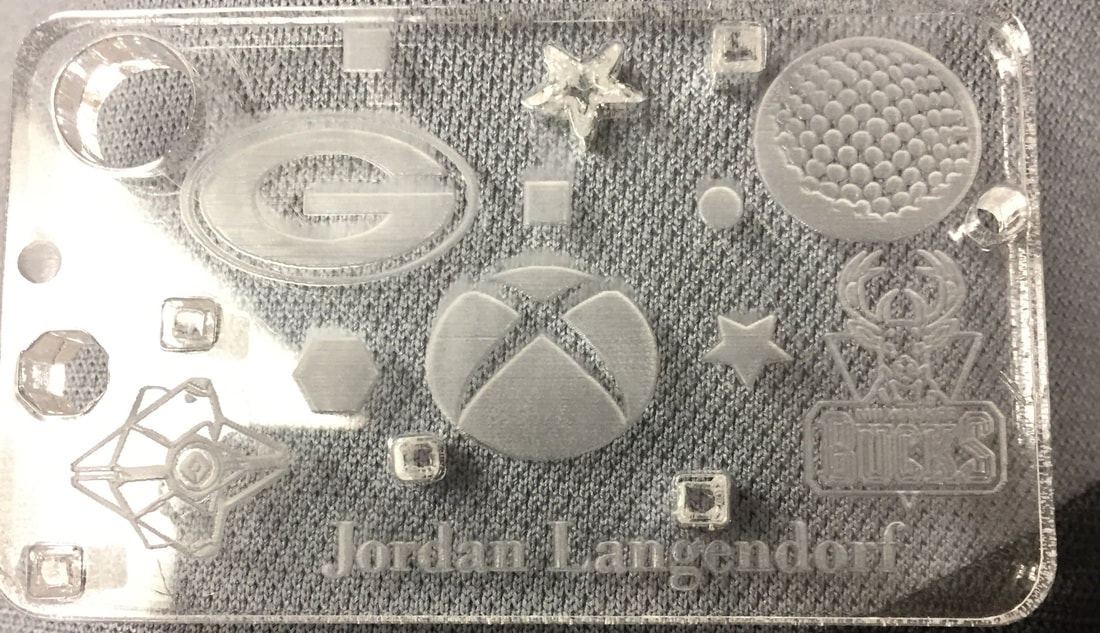
Finished key chain
______________________________________________________________________________________________________________________________
______________________________________________________________________________________________________________________________
Vinyl Cutter Name Project
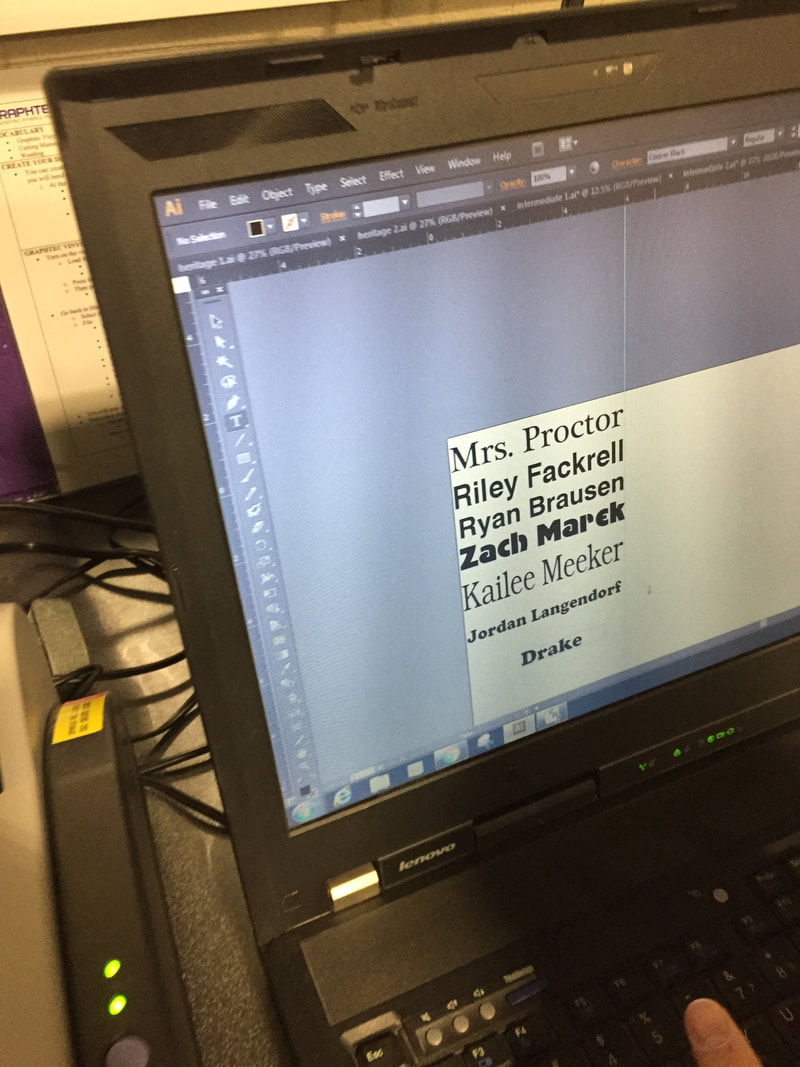
In this project, we put our names on the computer and change the font to what you want.
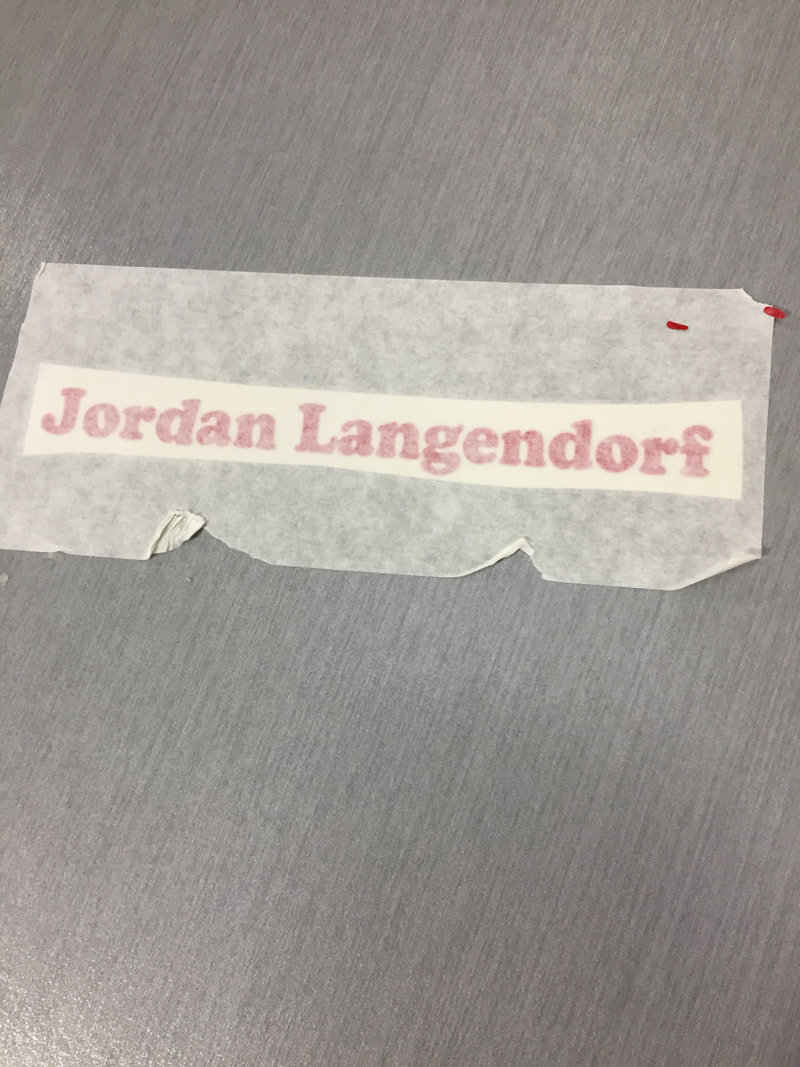
Next we all split apart to apply the decals to our notebook so we could tell whose notebook is which. I first peeled off the layer of vinyl so the name was visible in red. Then I used the picking tool to get rid of the spaces that shouldn't be filled with vinyl. Then I put tape over the decal and used the squeegee to press down on the vinyl to be able to apply it to the notebook.
|
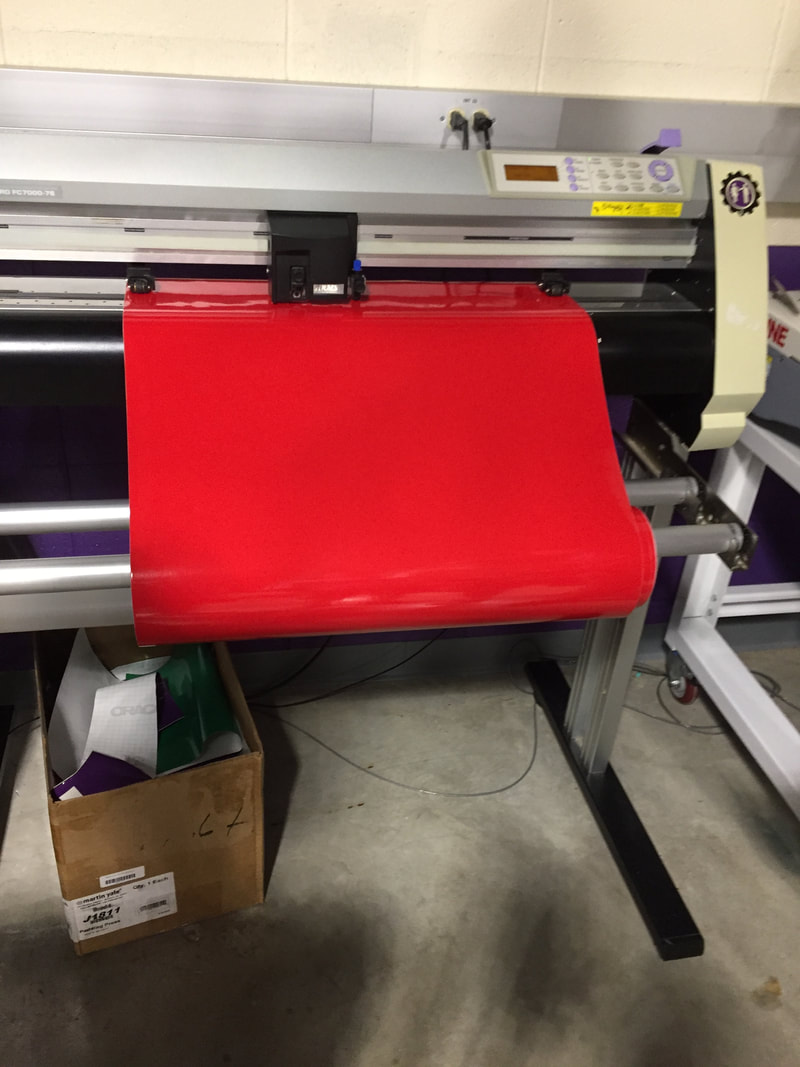
After that, we watched Mrs. Proctor load and print the vinyl. This let us see how to use the vinyl cutter for future projects.
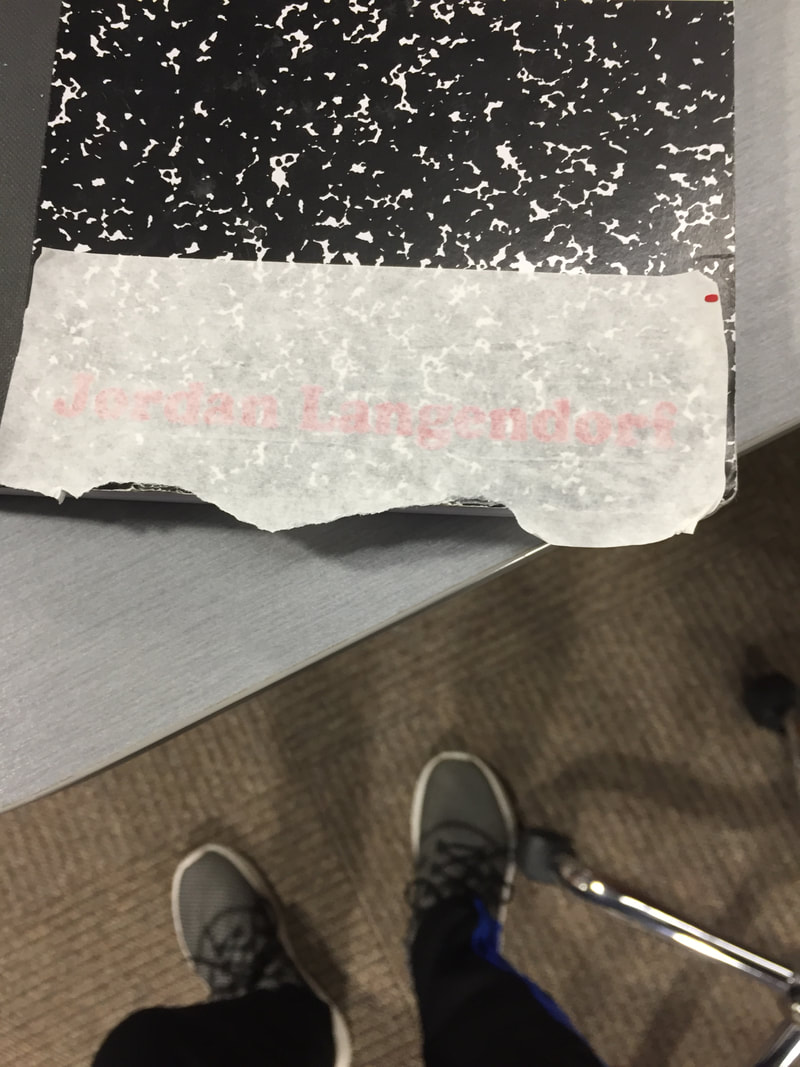
After I did that, I peeled the tape off so the vinyl would come off with it. Then I put the tape on the notebook and used a squeegee to apply it and attach it to the notebook. Then I peeled it off.
|
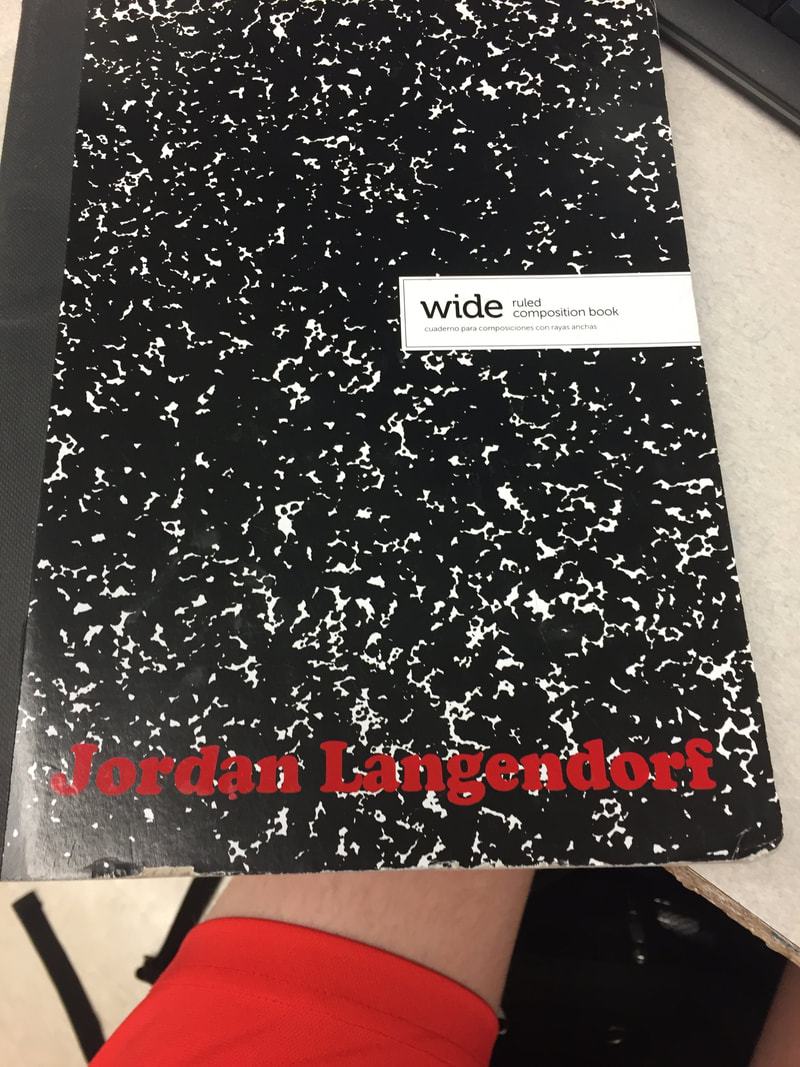
This is my finished vinyl name on my notebook.
What I learned
I learned how to use the vinyl cutter in this project and how to apply decals to what I want. I also learned of more uses of the Illustrator software.
