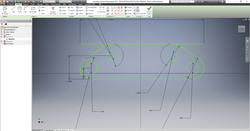
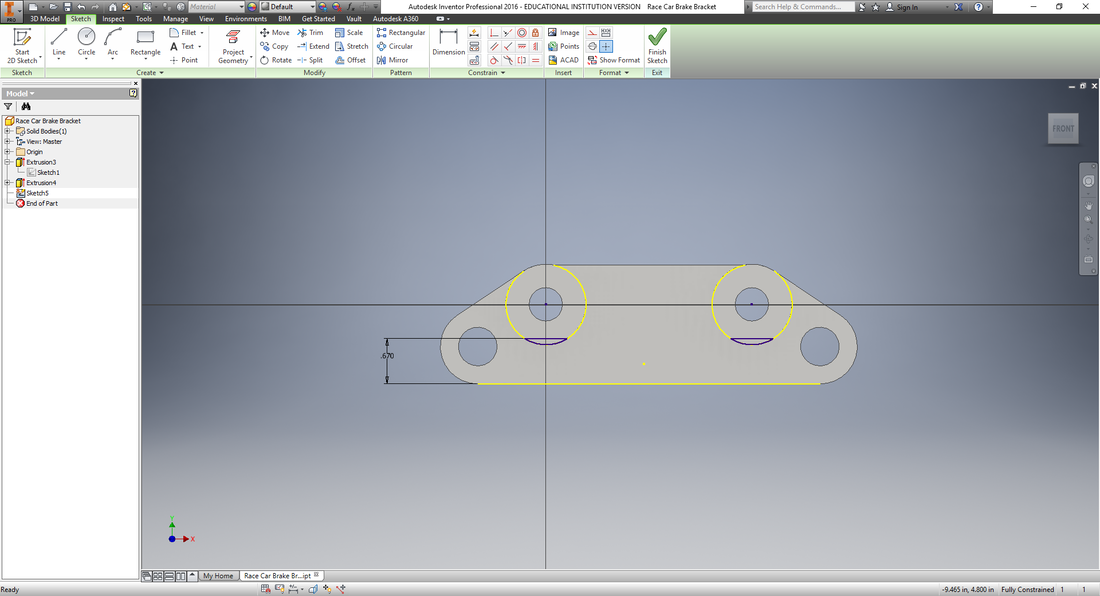
First I created my sketch which was at first a rectangle but I gradually added designs on to it from the handout. After all of the designs from the handout had been copied onto Inventor I
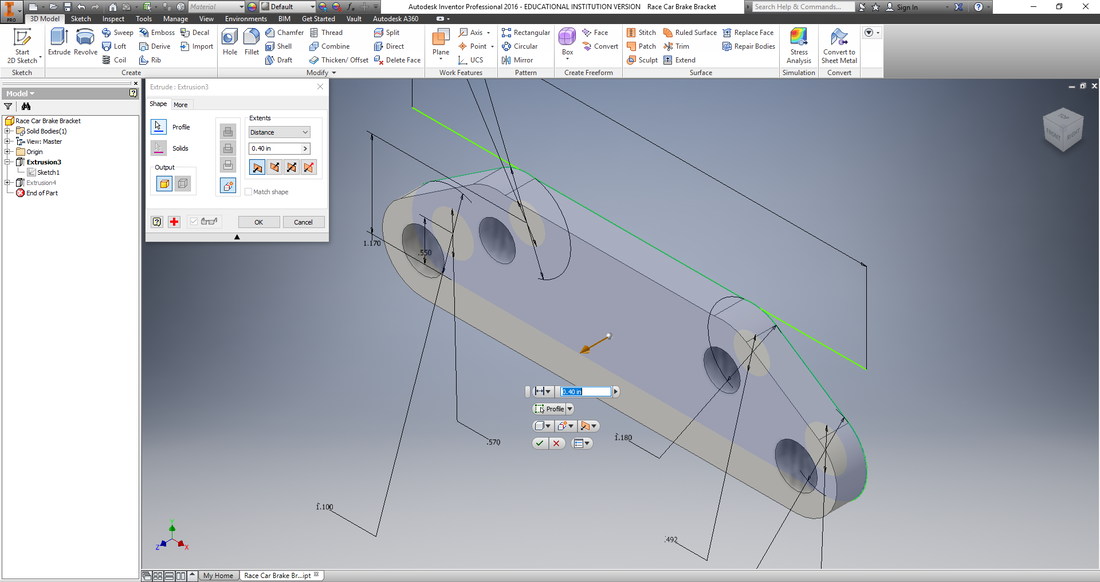

I then made the extrusion to make the outline for the upper hole in the brake bracket.
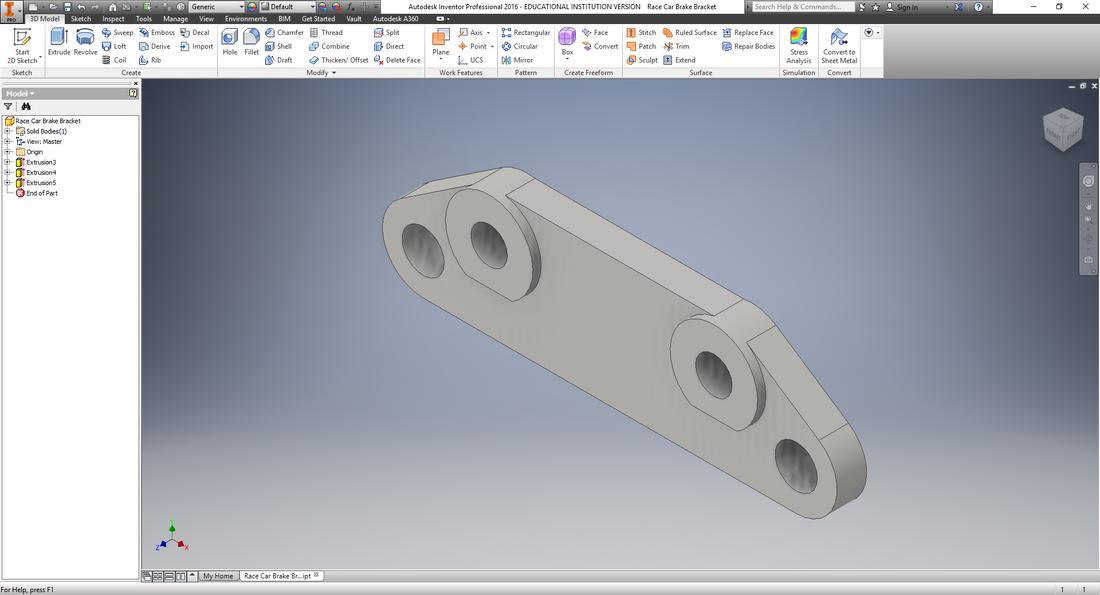
Once I extruded this part by .11 in the Inventor file was complete and I was good to move on to Fusion 360.
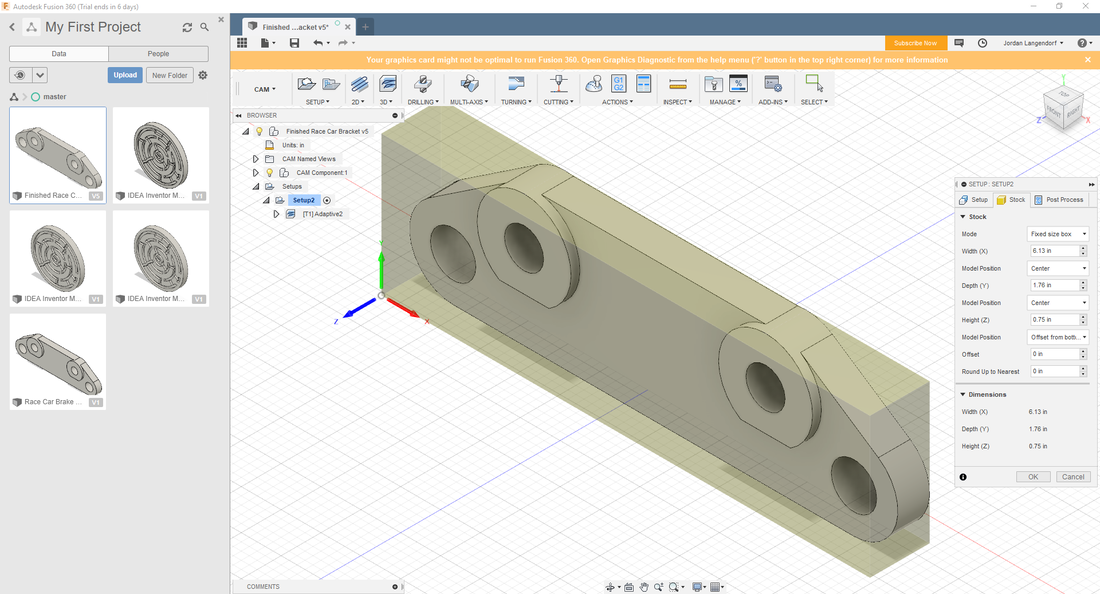
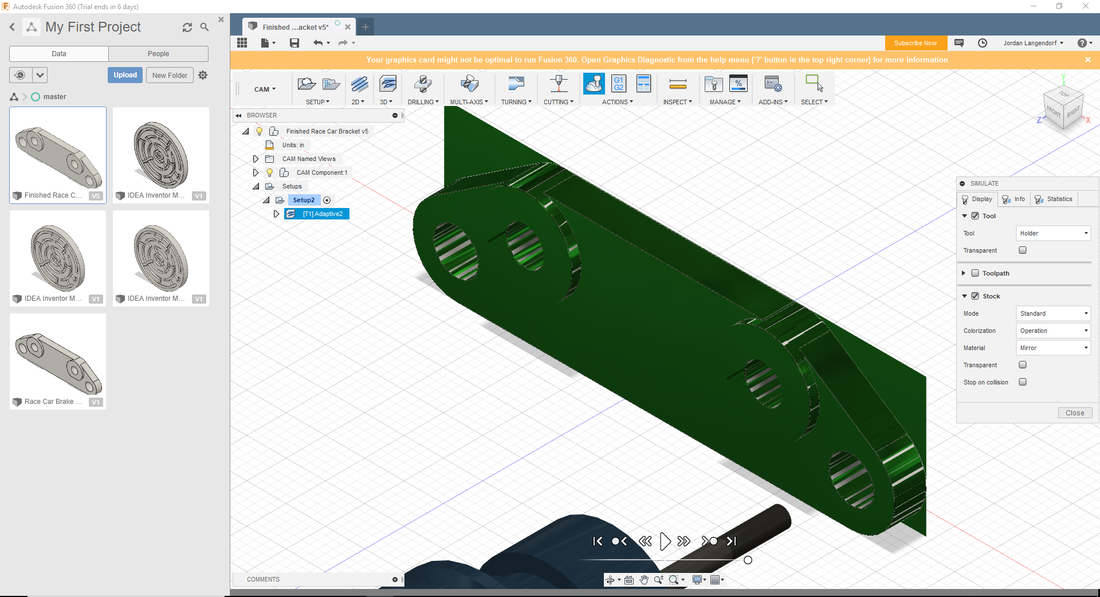
First I setup the Fusion by changing all the settings of the mill cutting out the brake bracket.
|
|
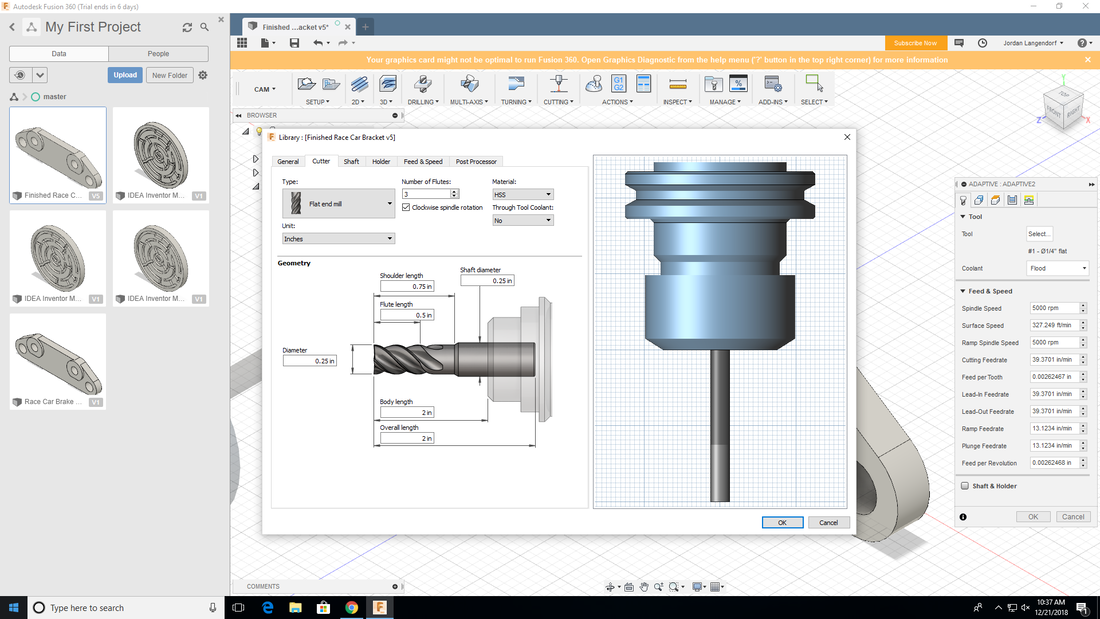
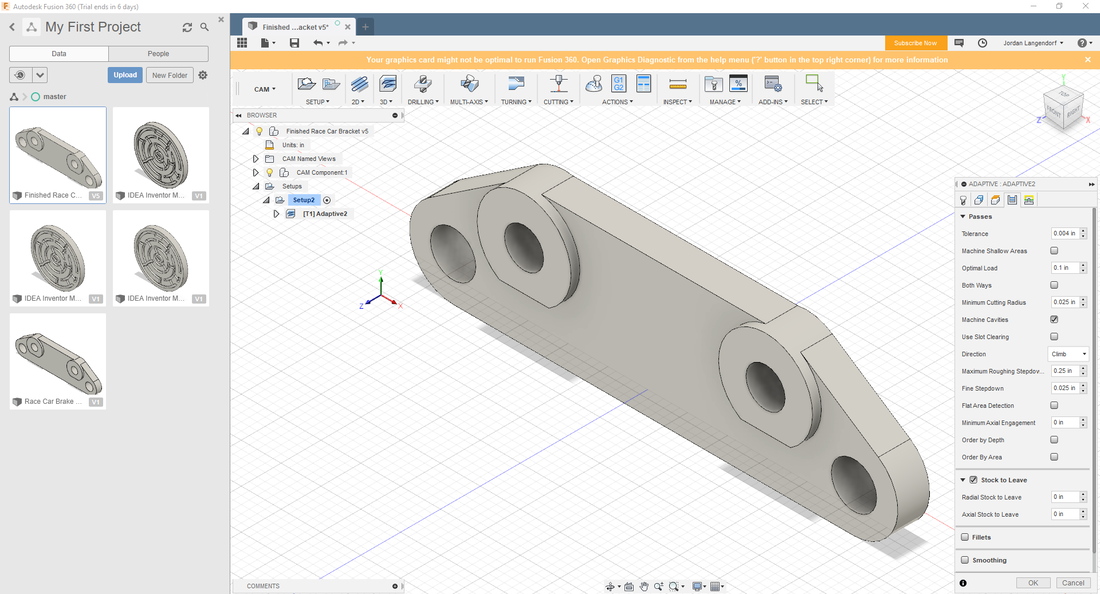
Then I selected and customized the tool to fit the mill and changed more settings to assure it printed well.
|
|
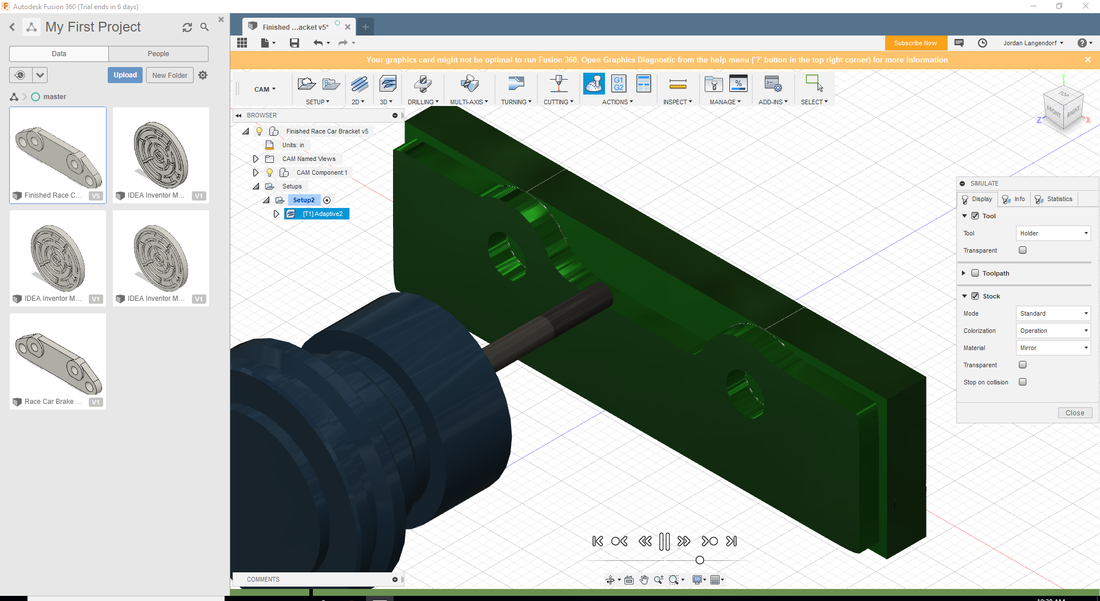
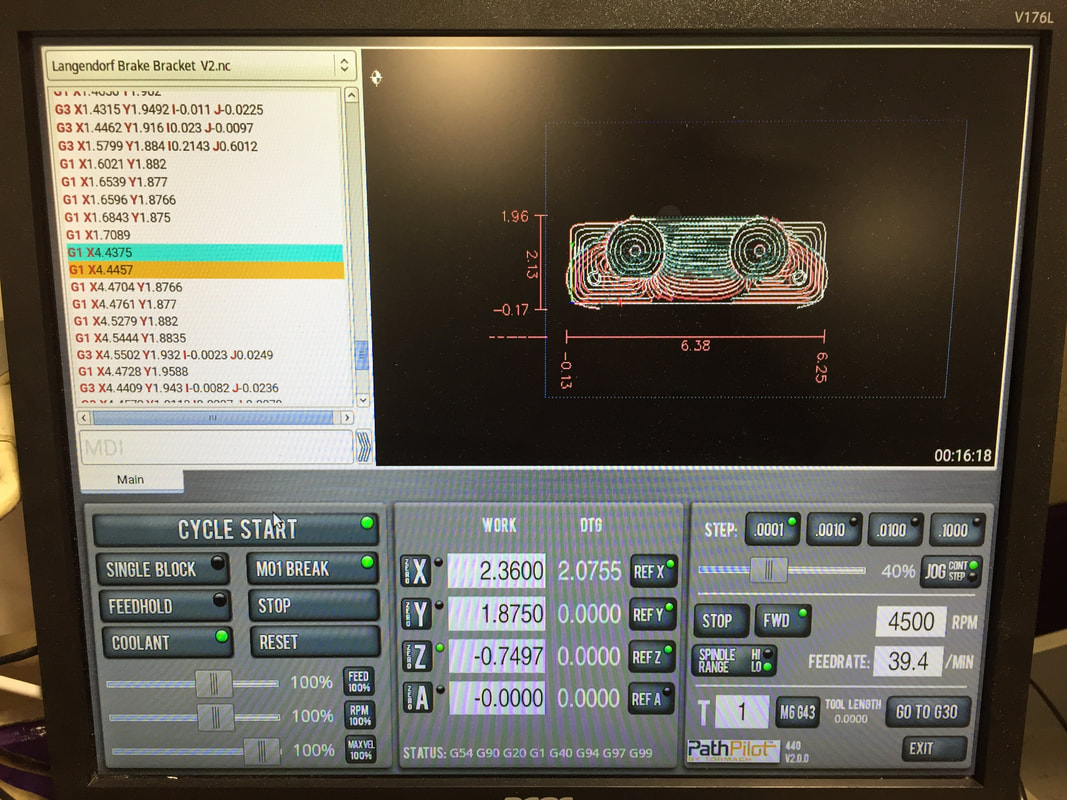
Then I ran the simulation to see if it would work in the mill. Once it did, I decided it was time to cut it out using the mill.
|
|
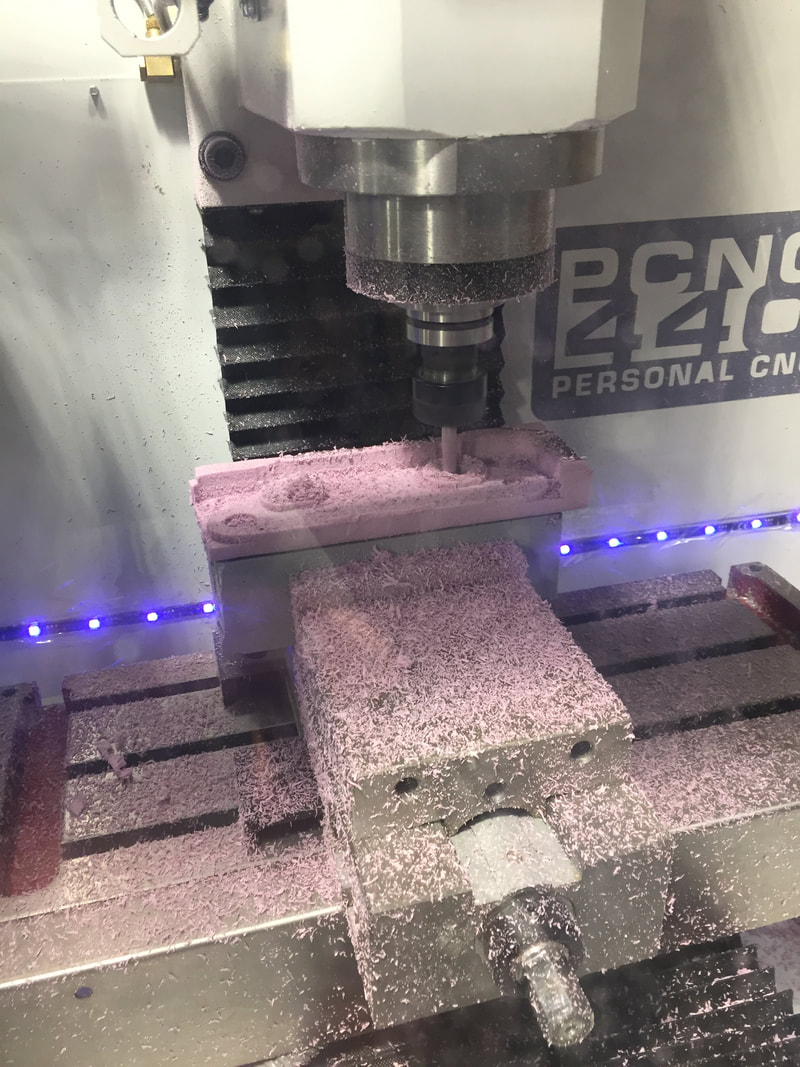
I then set up the print on the mill and started printing while making sure my hand was on the space bar to stop it if need be.

This is the brake bracket once it was cut out. Next I moved on to engraving my name onto it.
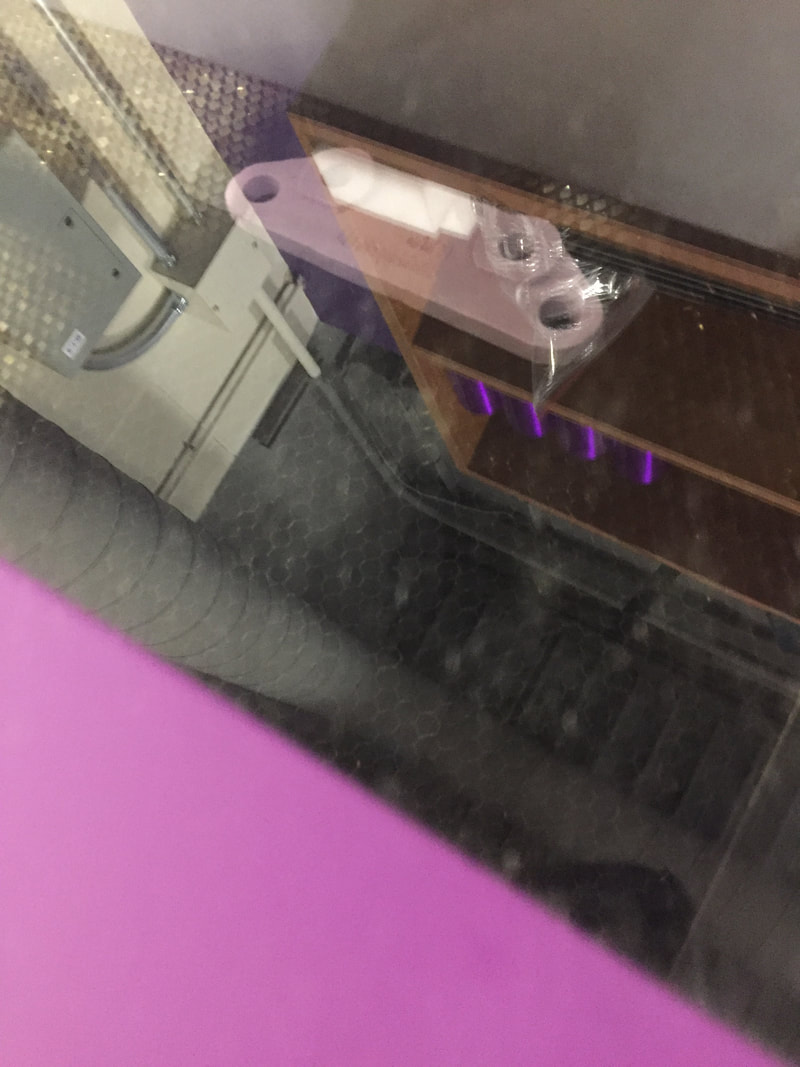
I set up the laser so it wouldn't burn through my brake bracket instead of engraving my name onto it.
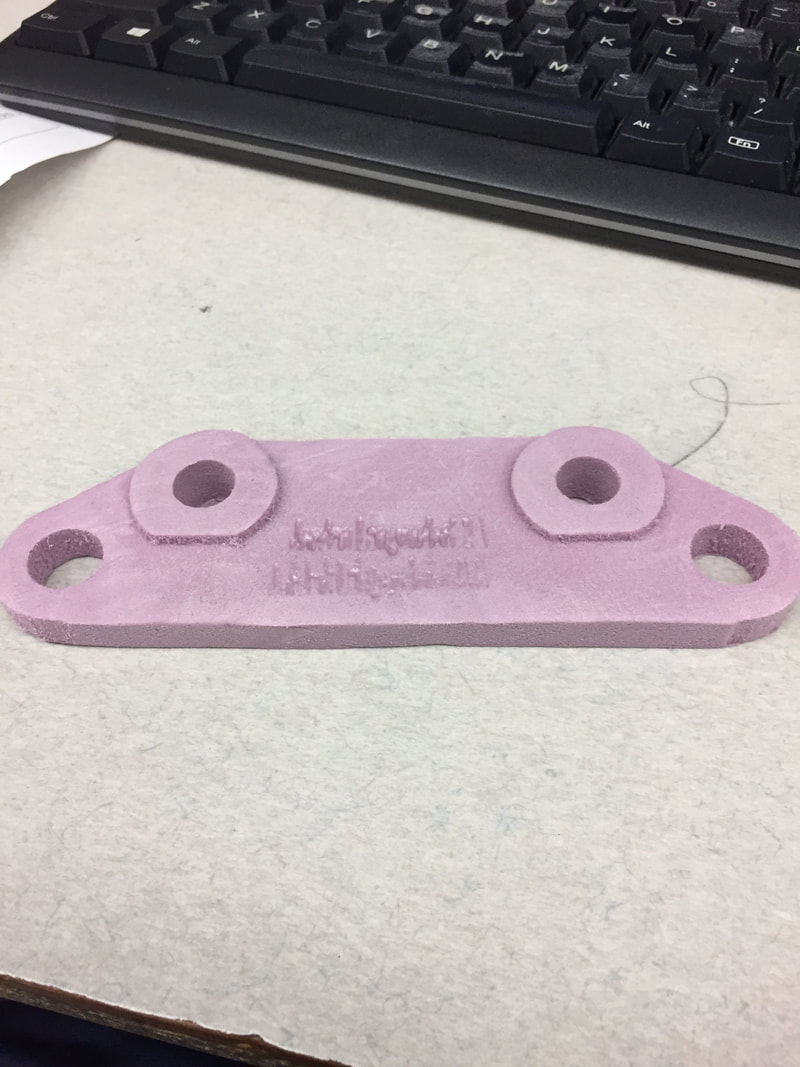
This is it once it was finished engraving.
What I learned
In this rotation I learned how to set up a file for the mill and use the mill to cut out a design.
