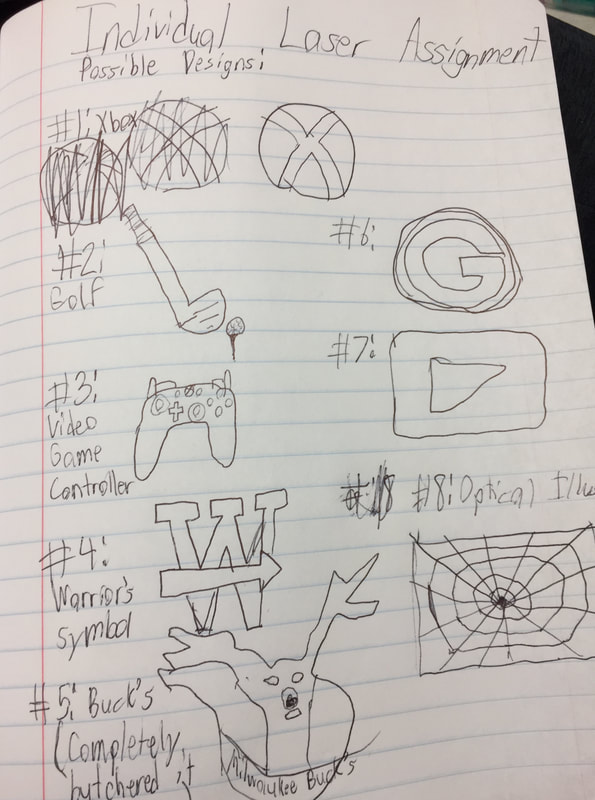
First I thought of some designs to pick from for my laser assignments. I didn't use all of them but I chose the Xbox and the golf symbols for my notepad.
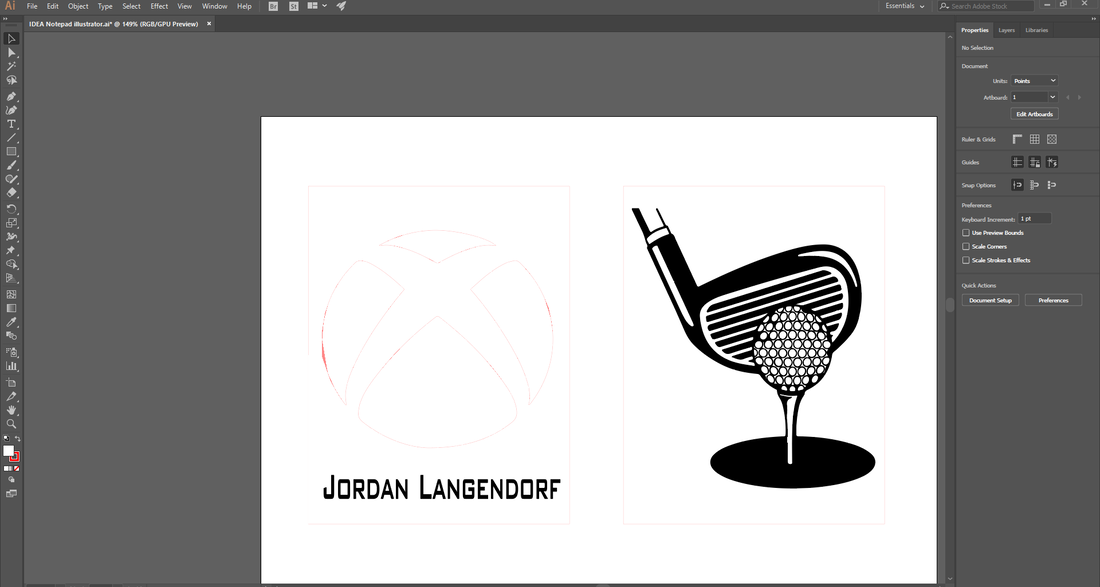
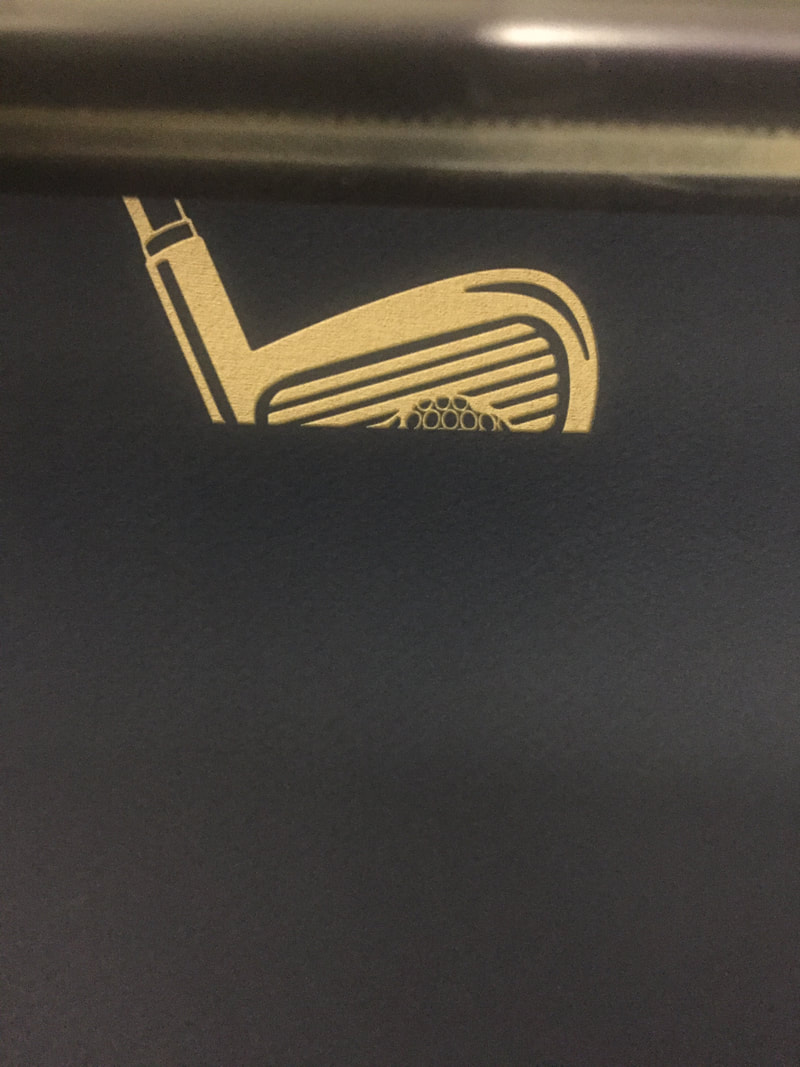
I then created my design. In this project, I was required to cut at least one thing out from the design by changing the black lines to red. I choose to do this in the Xbox symbol because I felt it would work fairly well as it is also a fairly simple symbol. After I finished the design, I went to printing.
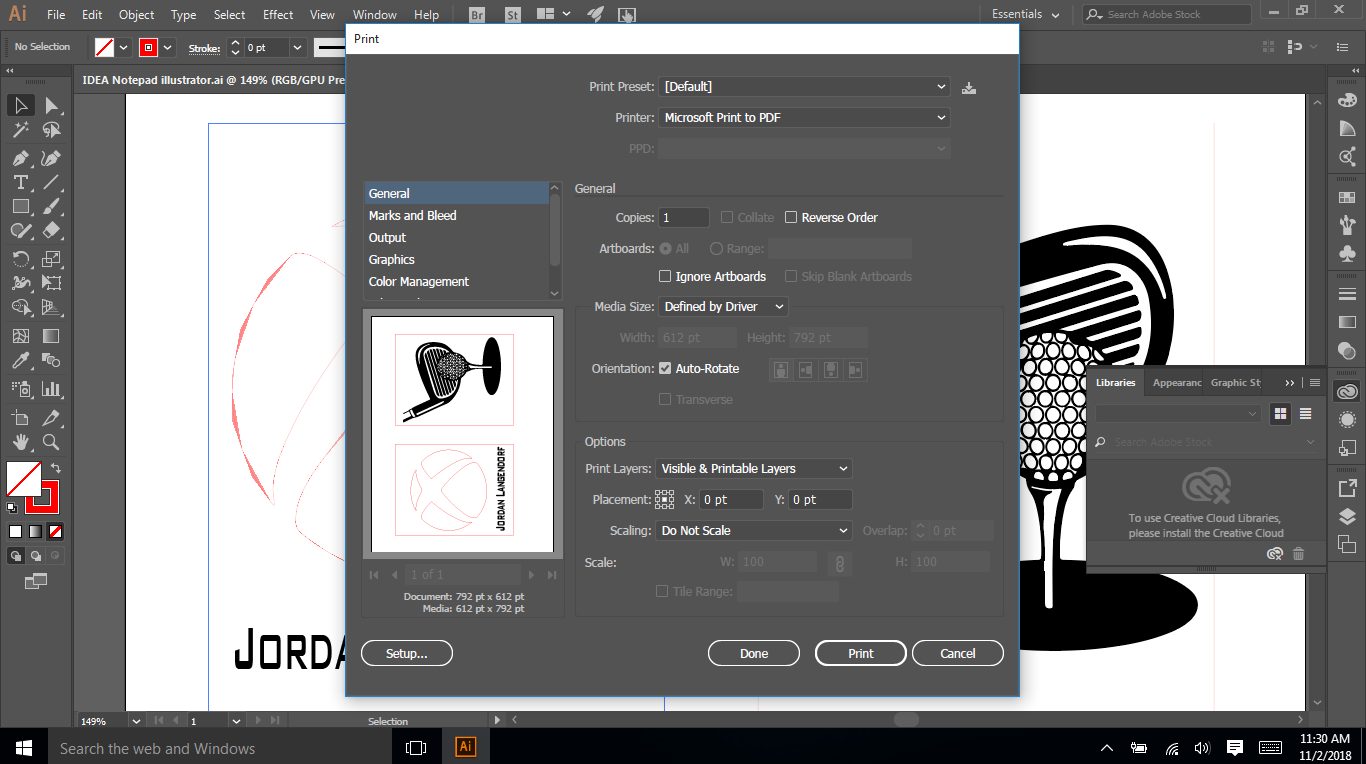
First, I got material to print with. Then, to print, I clicked file, then print. I made sue I was on the laser so I could print successfully. I then went to setup. From there I went to preferences and chose natural then foamcore. I also made sure that the material was measured and entered in the correct thickness of the material.
I then selected the UCP software for the laser, placed my material in, and made sure the material was lined up. Then I pressed print.
|
|
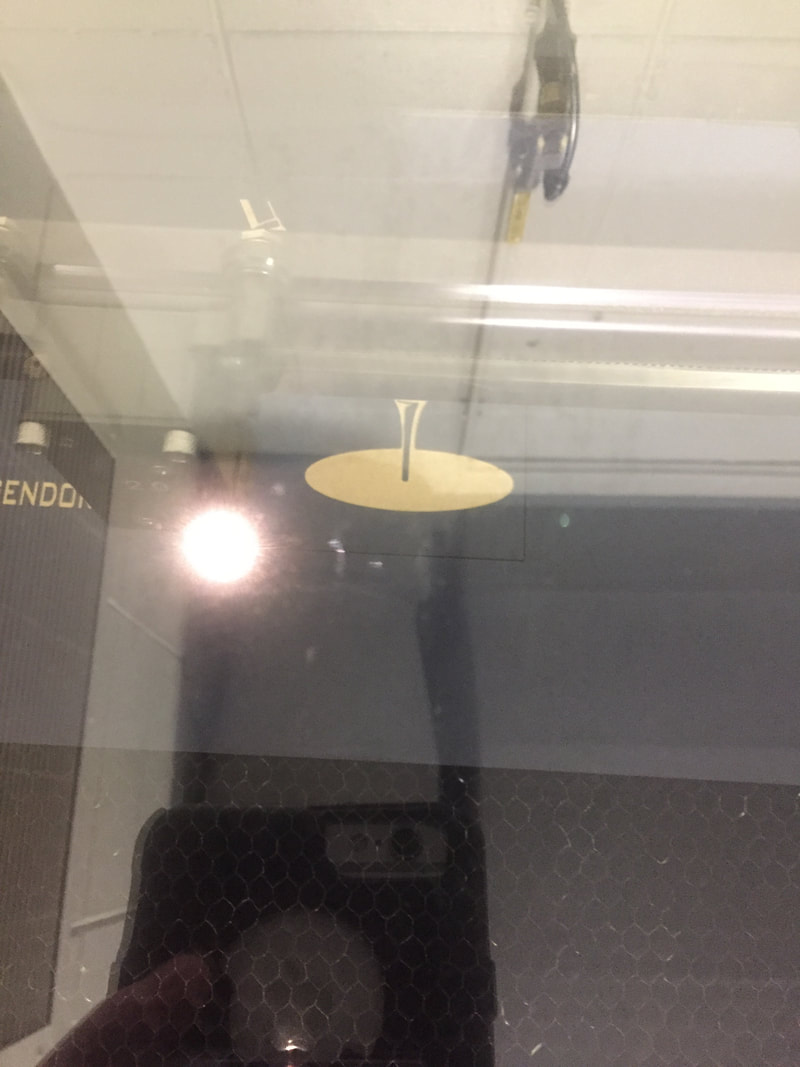
This is the notepad covers printing.
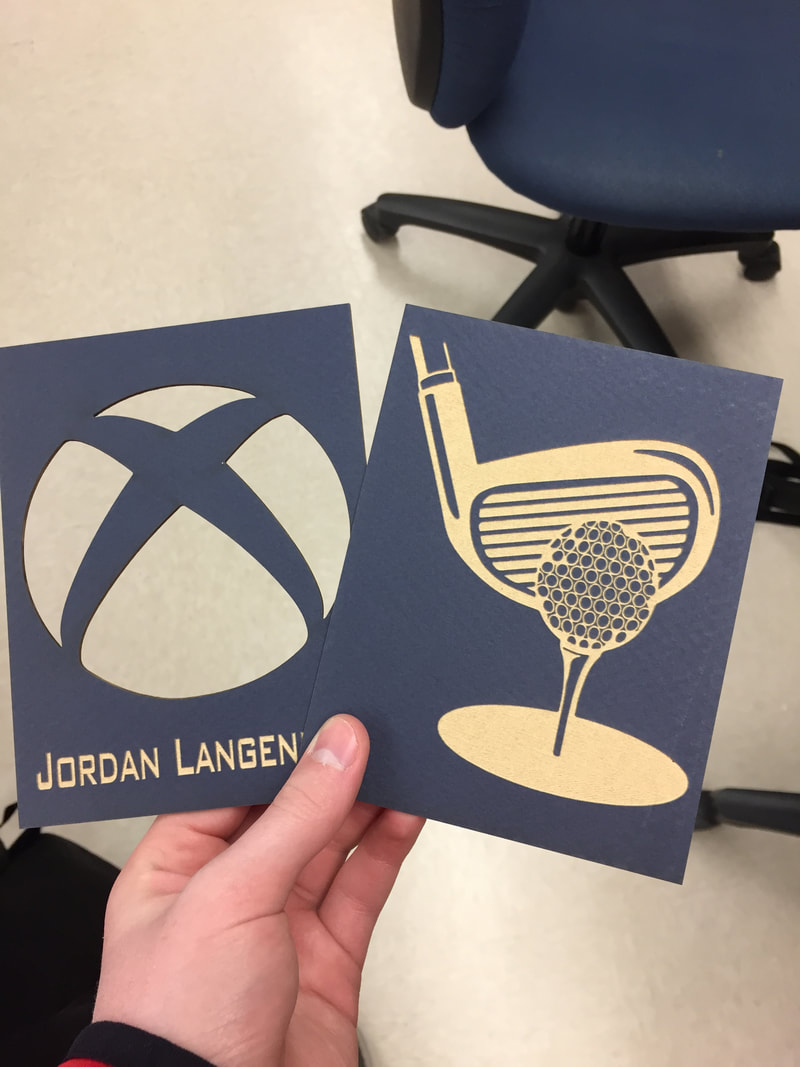
This is how the covers turned out.
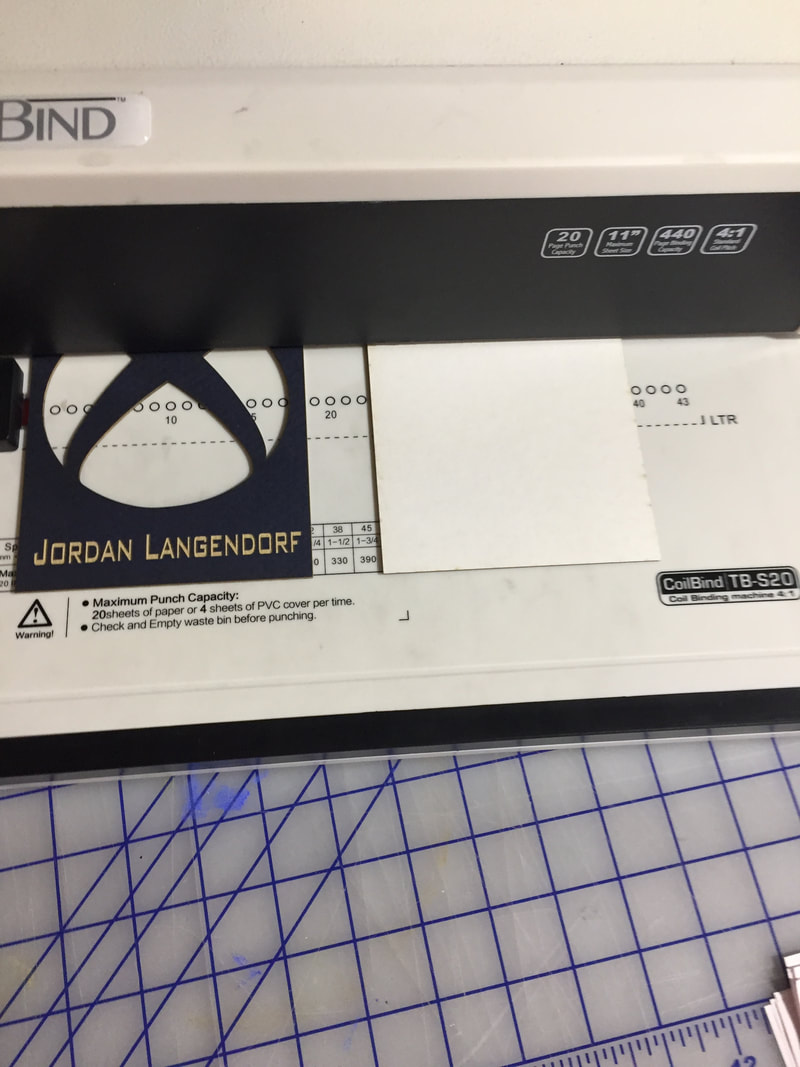
I then went to the hole puncher to punch holes in the covers.
|
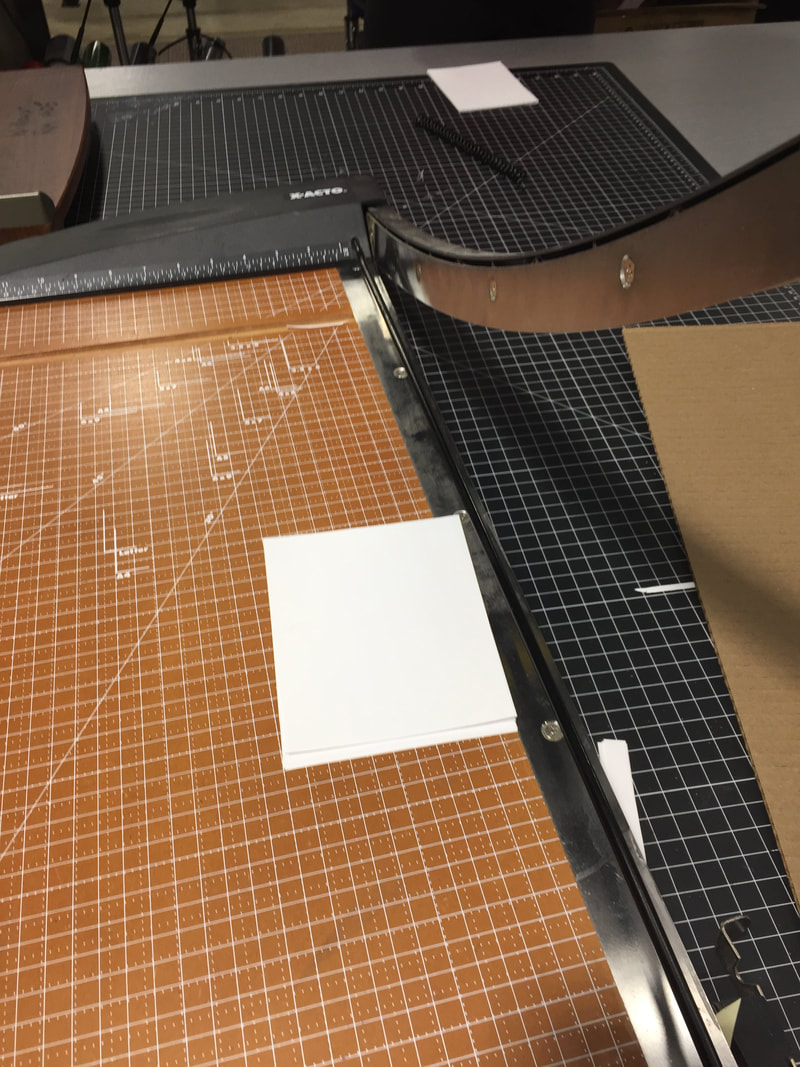
After that, I cut the paper for the actual paper in the notepad.
|
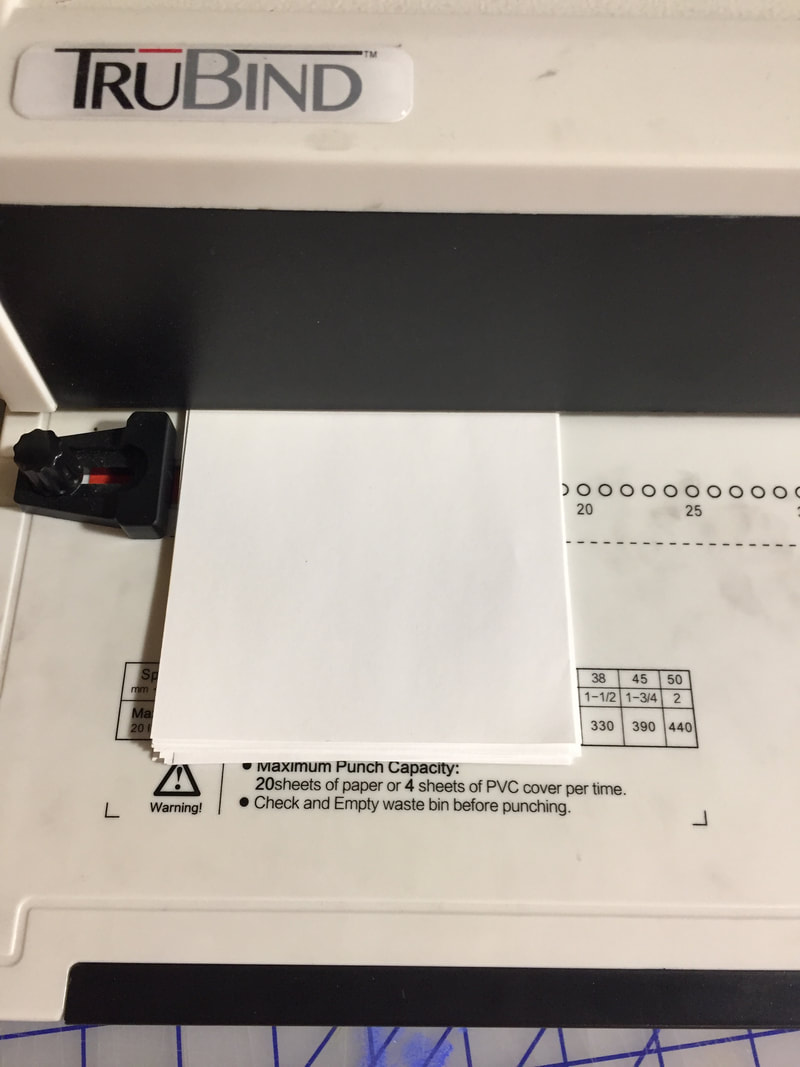
Then I hole punched the paper.
|
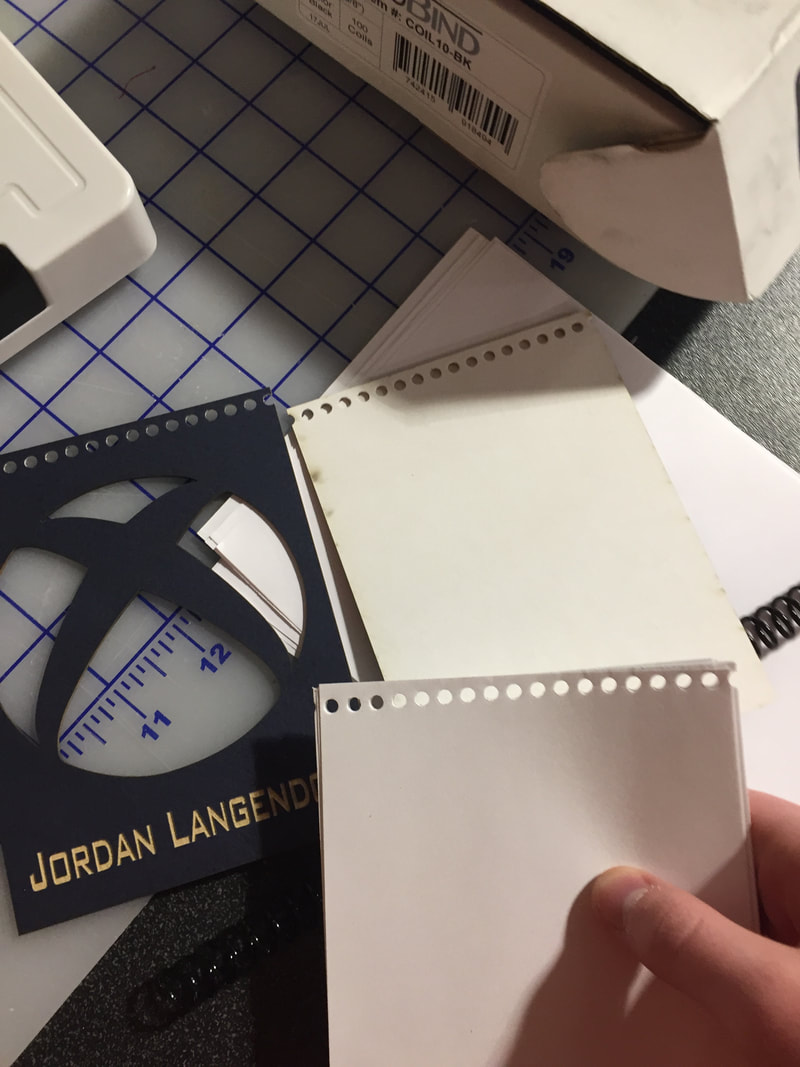
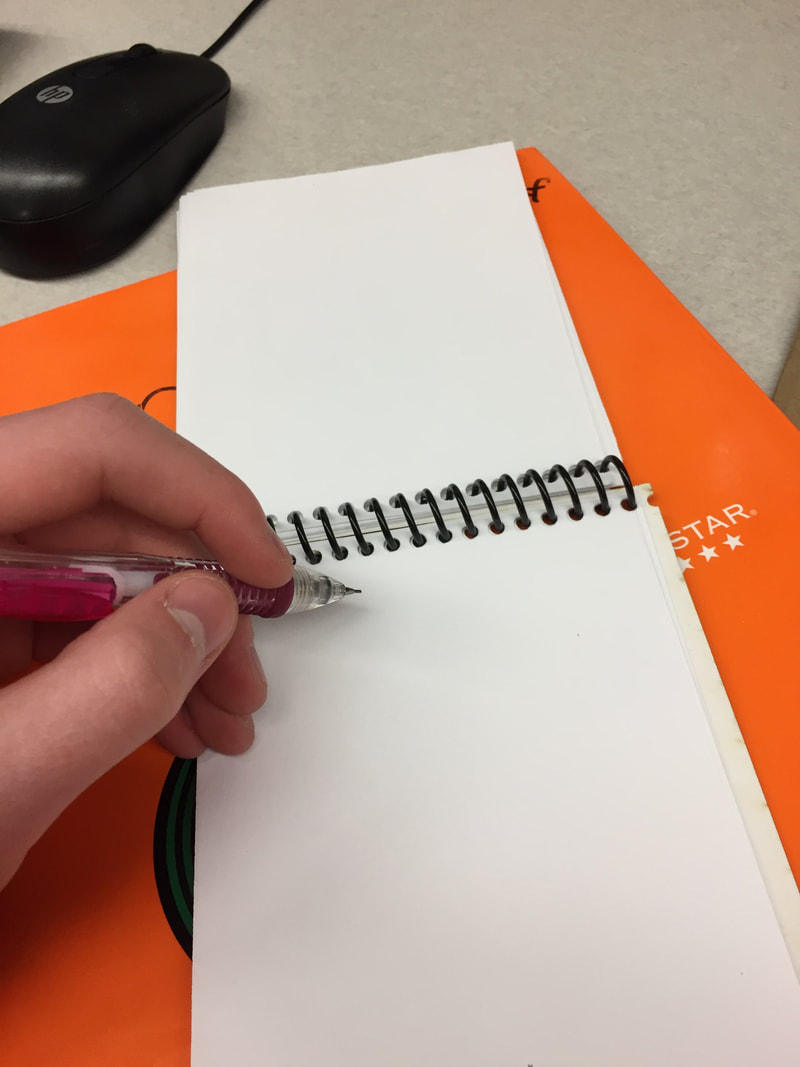
After, I lined the cover and paper up to put the spiral in that connects the papers and the two covers.
|
|
|
|
After I put the spiral in, I had to cut the spiral off once it went past the notepad.
|
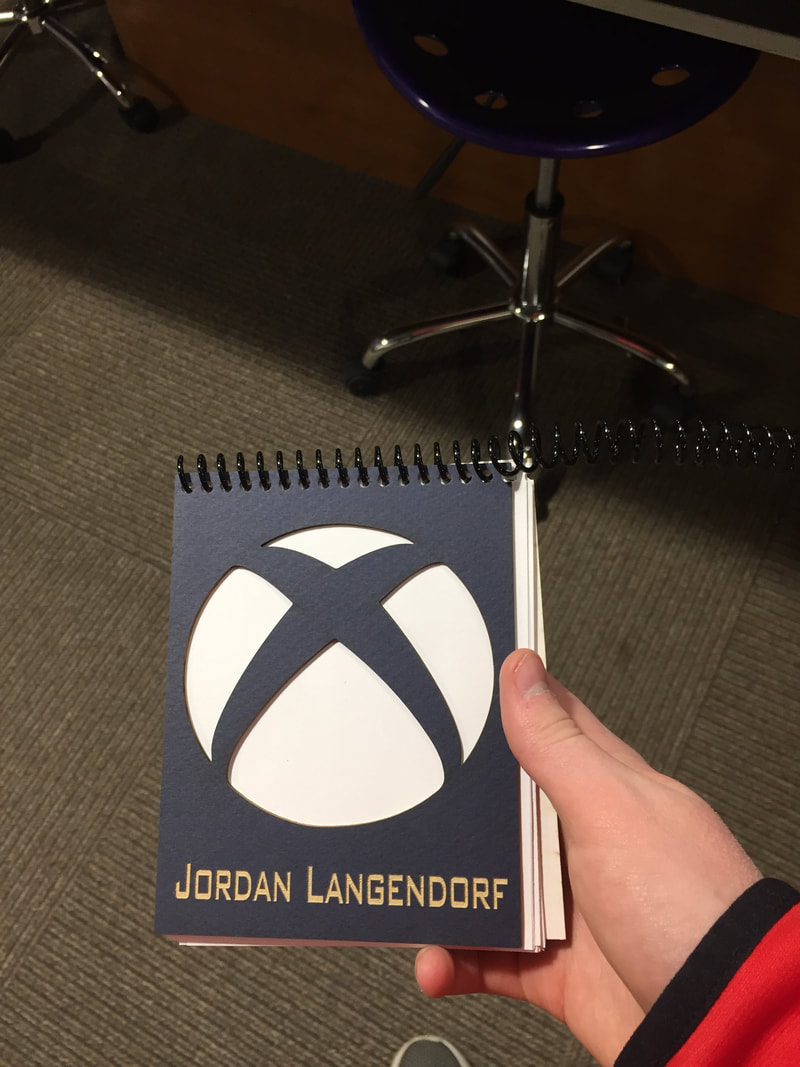
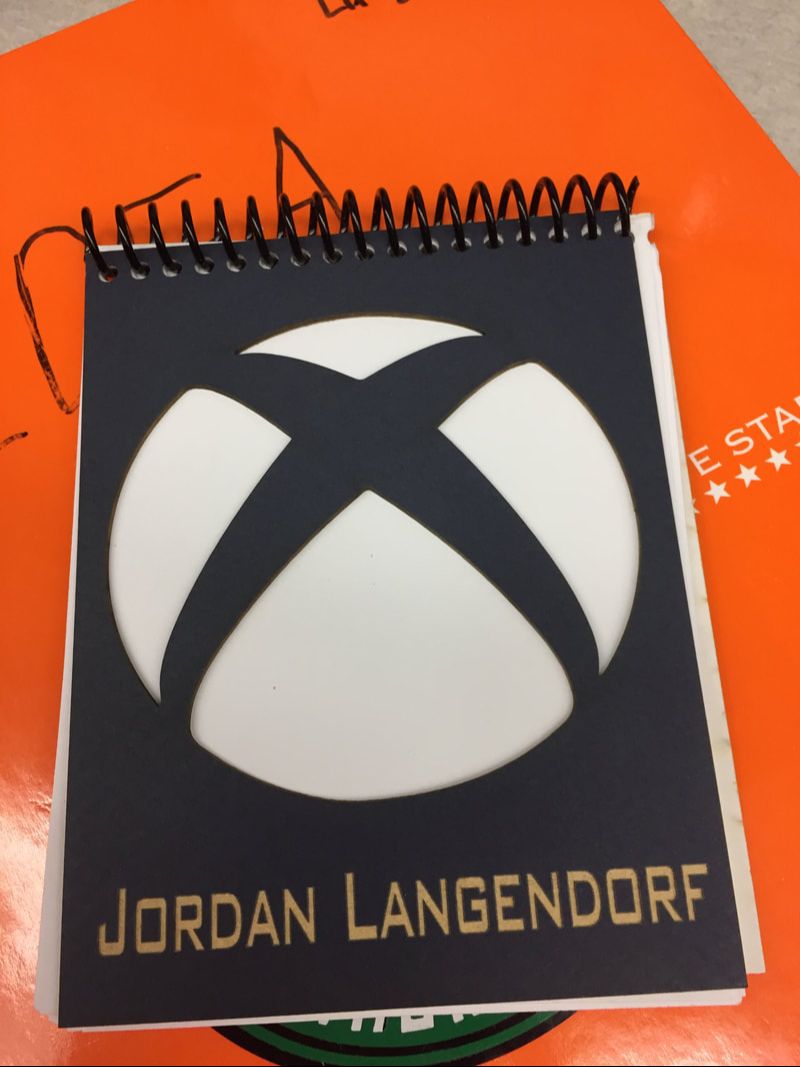
This is the notebook after everything is finished.
|
What I learned
I learned how to use a different material on the laser. I also had learned how to create my very own notepad and how darker material for a notepad can look really good!
