
First, I thought of designs that had only three colors. At first I thought of sports that I like and when I couldn't find anything there I thought of games I like. Finally, I decided to look for symbols from sports teams that I like because most of them are pretty simple. Eventually I decided to make my decal the bucks basketball logo because it has three colors in it and I enjoy watching the basketball team. I copy and pasted the image onto my inventor page and then separated each color from each other. Then, I changed the color of the background of the symbol that was before tan colored. I also changed the white to pink to make it more visible.
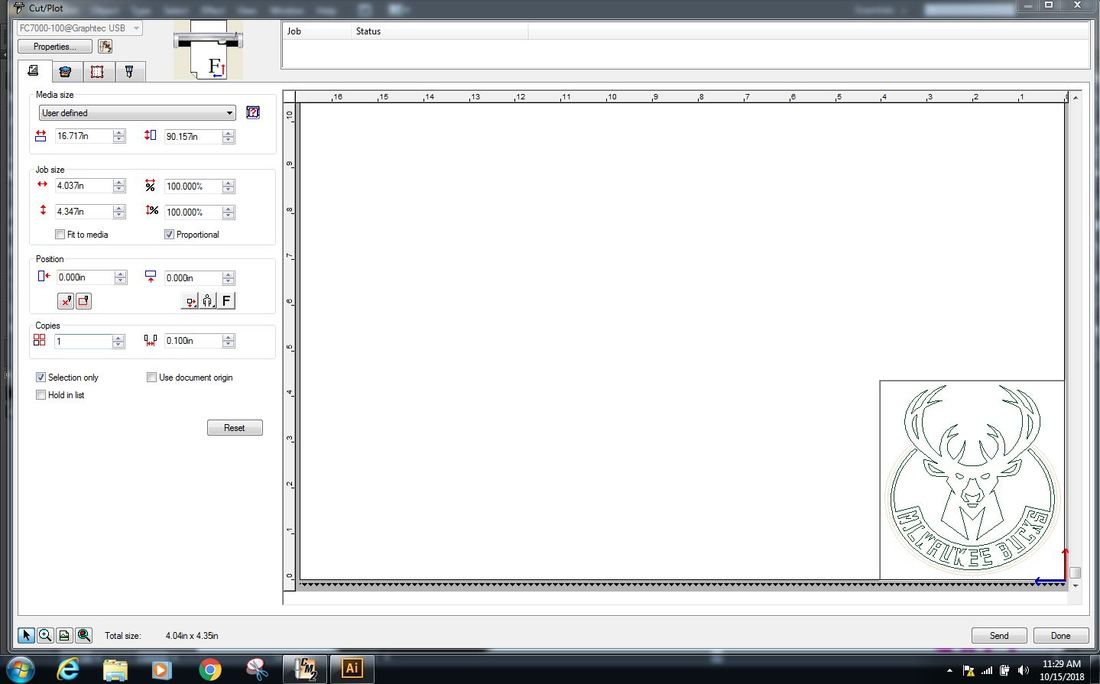
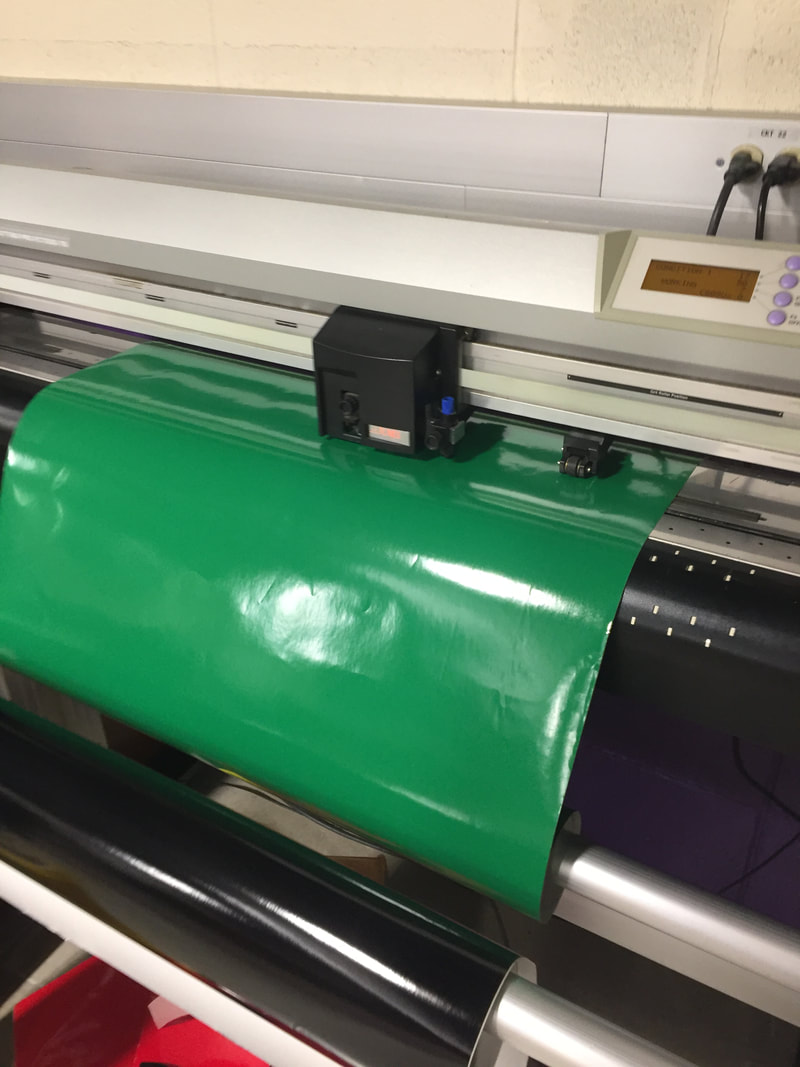
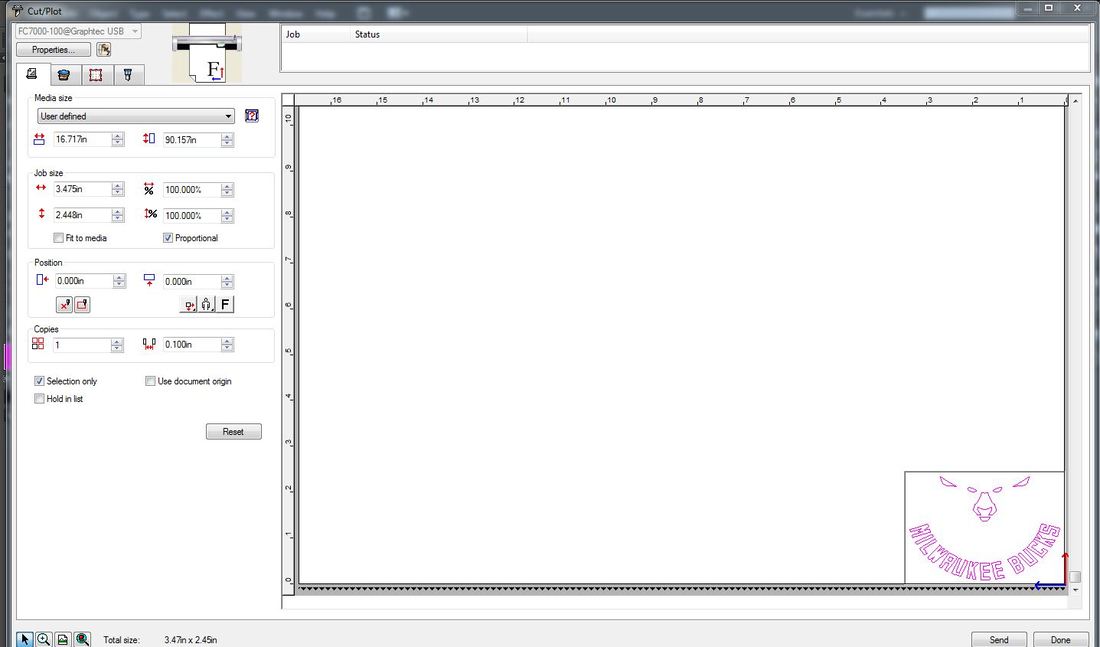
After that I went to the vinyl cutter and turned it on. Then I loaded the vinyl into the machine and then I pushed the purple lever up to secure the vinyl. Then I prepared the machine to get into position and then I went into my illustrator file on the computer by the vinyl cutter then I put selected the part of the symbol that I wanted to print then clicked cutting master 2 and went to cut/plot. Then I made sure everything was okay to print according to the handout then I pressed print.
|
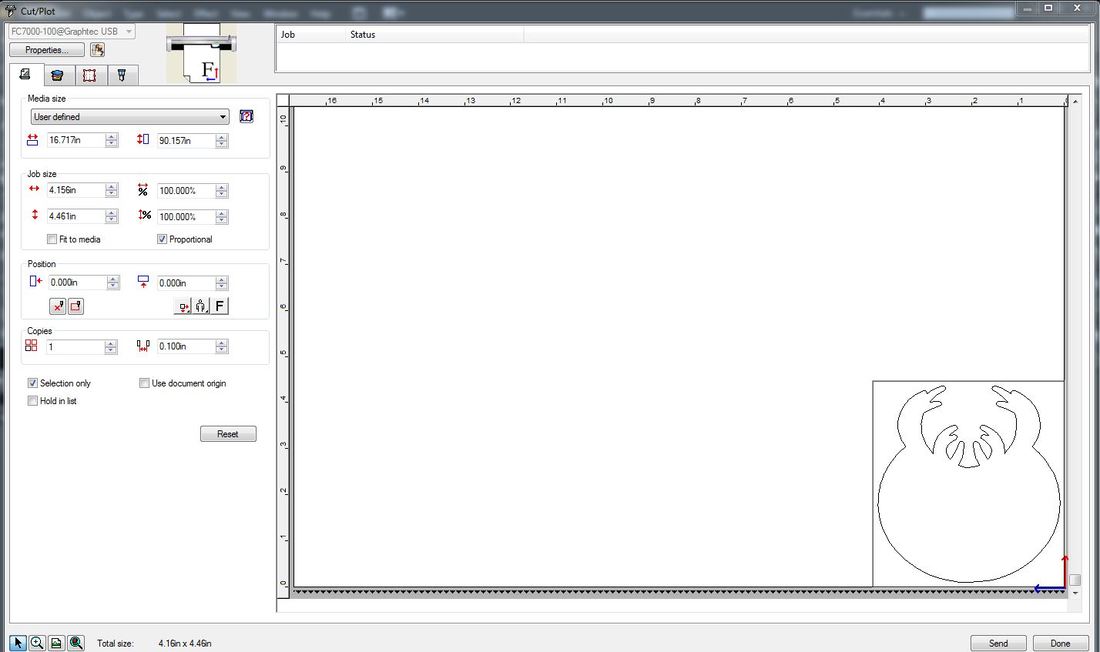
I did the same thing for the white and black parts of the decal.
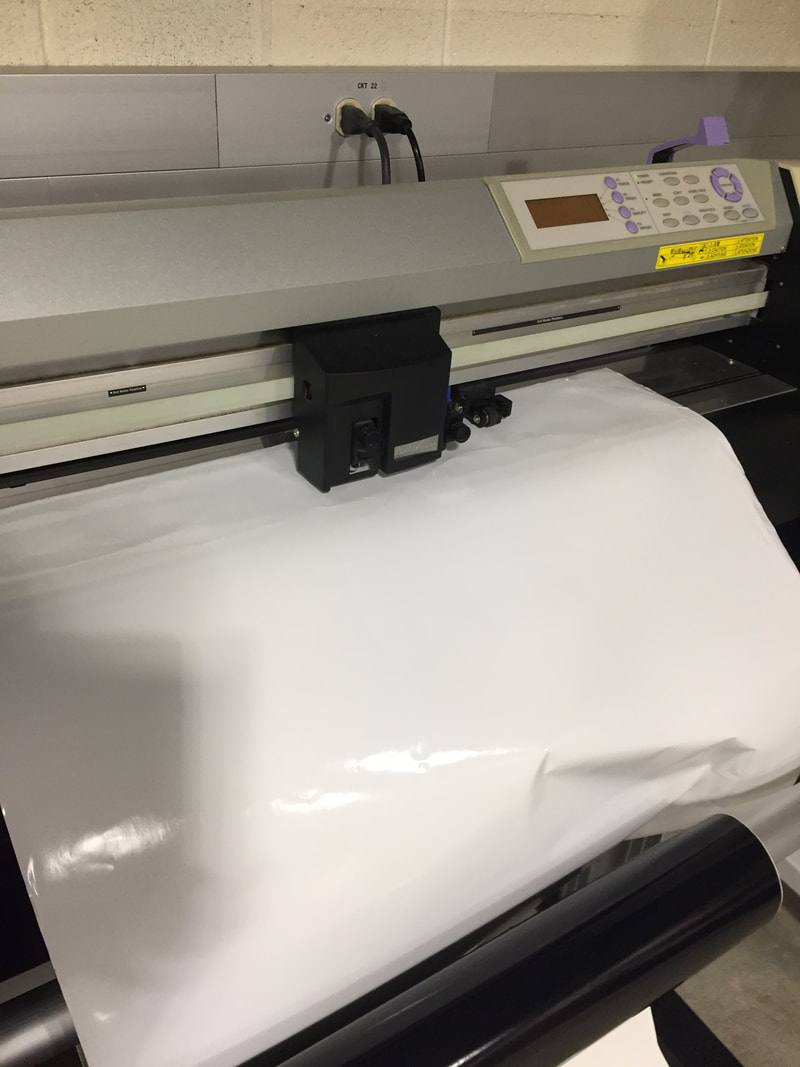
I then printed the white part of the bucks symbol which I colored pink so I was able to see it better. I also printed my green
|
|
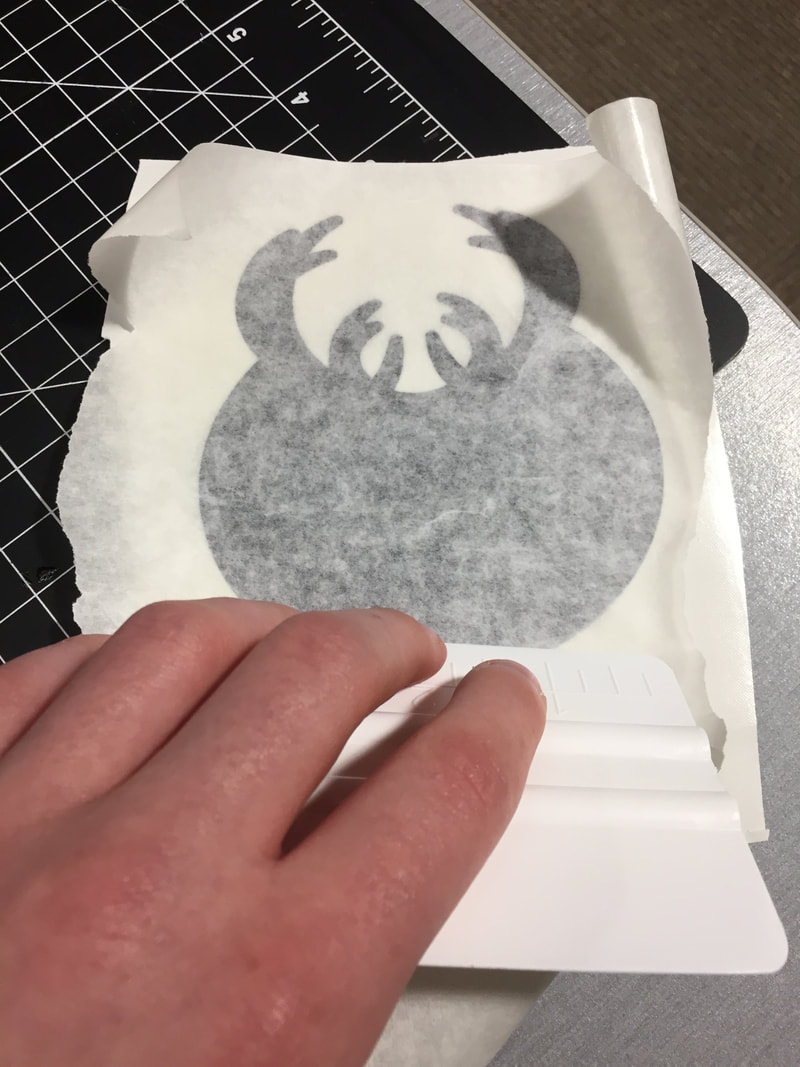
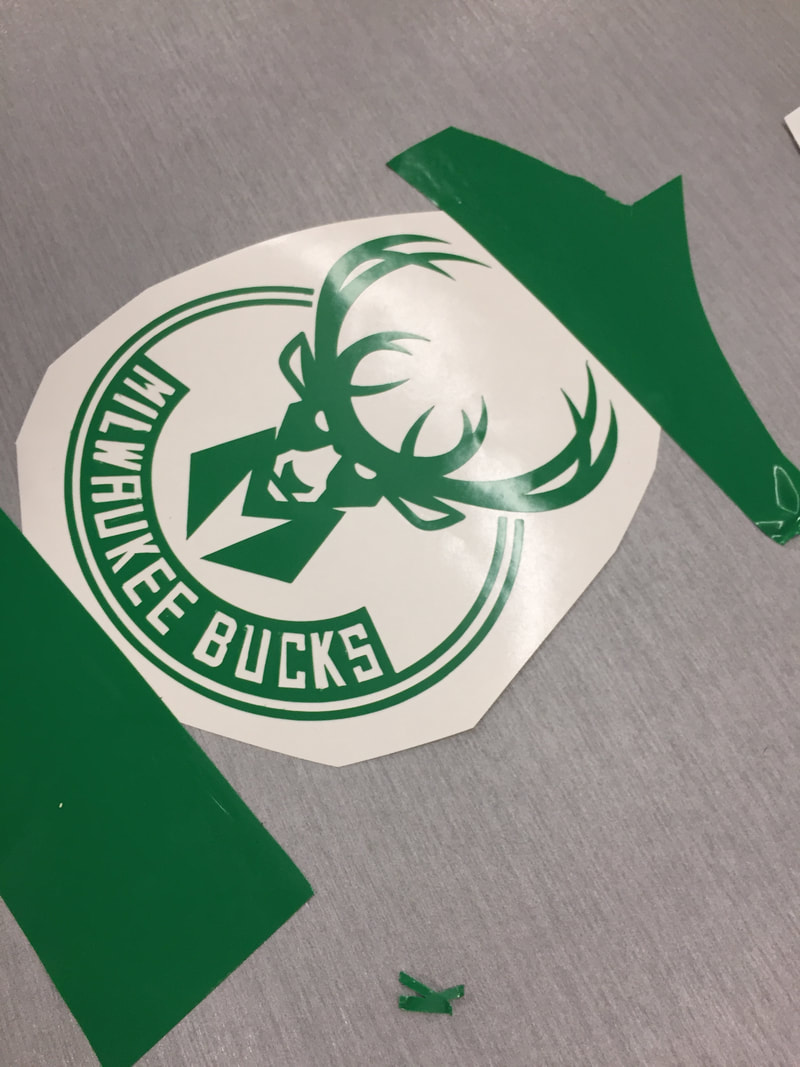
After I printed all of my vinyl decal parts I peeled the sticky part off slowly to get the background part of the bucks basketball symbol by itself. Then I put the transfer tape on the part and then smoothed it out. Then I peeled it off slowly after it was smooth enough so it would be on the transfer tape. I shouldn't have done this as I was supposed to put the green and white on top of the black background then applied it to the folder.
|
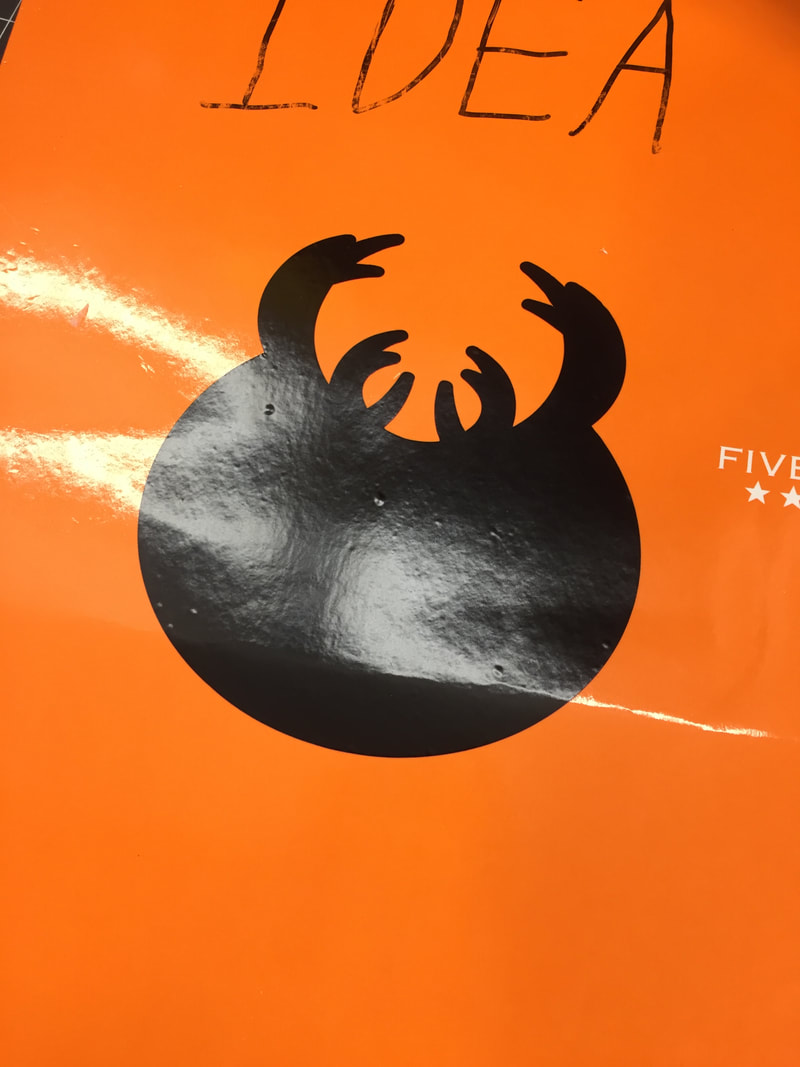
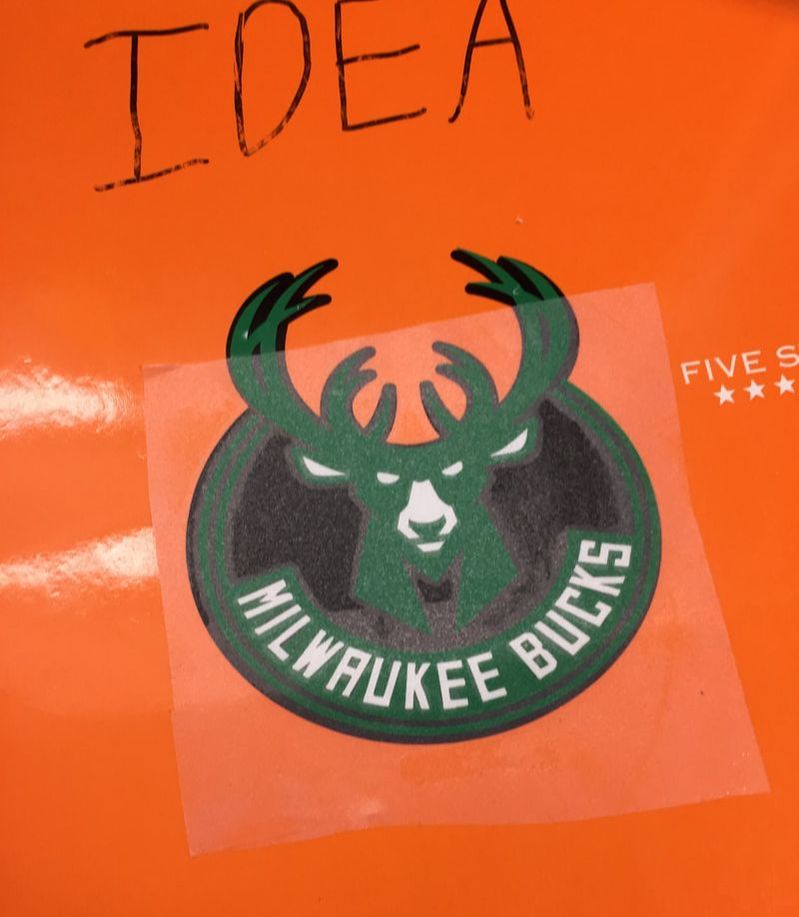
I then put the transfer tape with the black part of the decal on it on my IDEA folder which is the item I decided to apply my decal to do. I then smoothed it out again until it was smoothed out enough to peel off slowly.
|
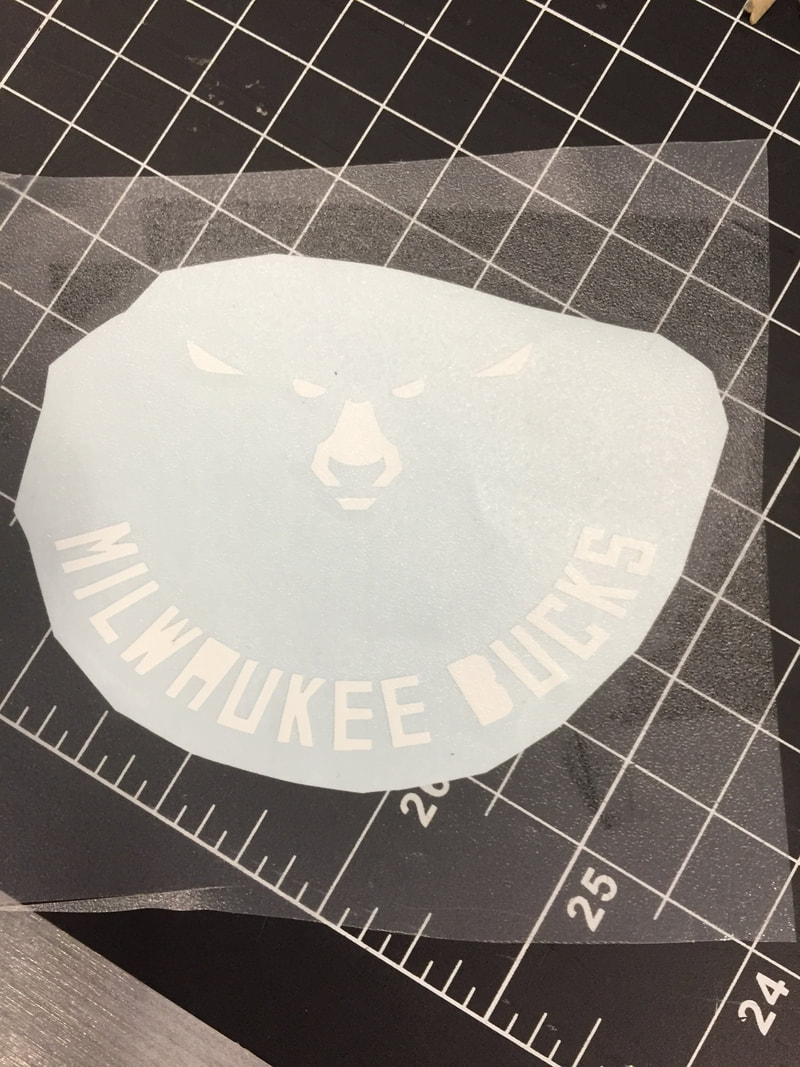
I did the same thing with the white and applied it to the transfer tape.
|
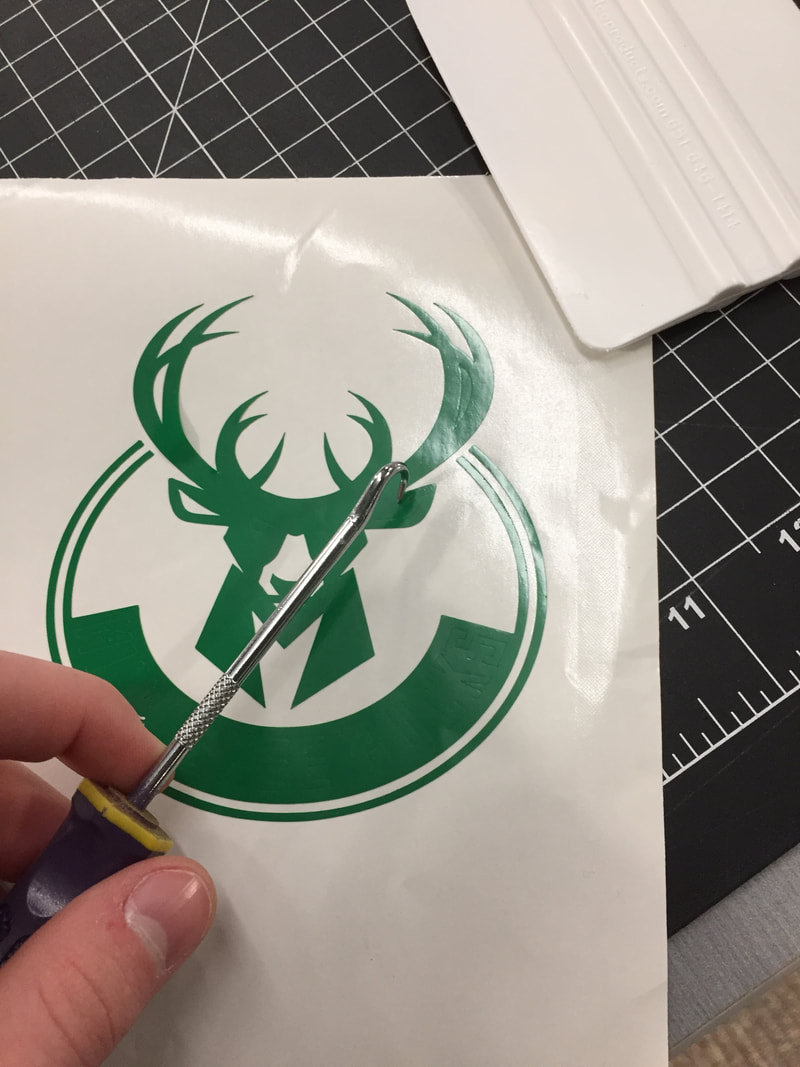
Then I worked on weeding out my green image.
|
While this was happening I was being helped by Mrs. Proctor who used the leftover green part from pulling the part that isn't the symbol off to secure the part of the decal to weed and print it on the transfer tape efficiently.
|
Then I put the green and white parts of the decal onto the black part.
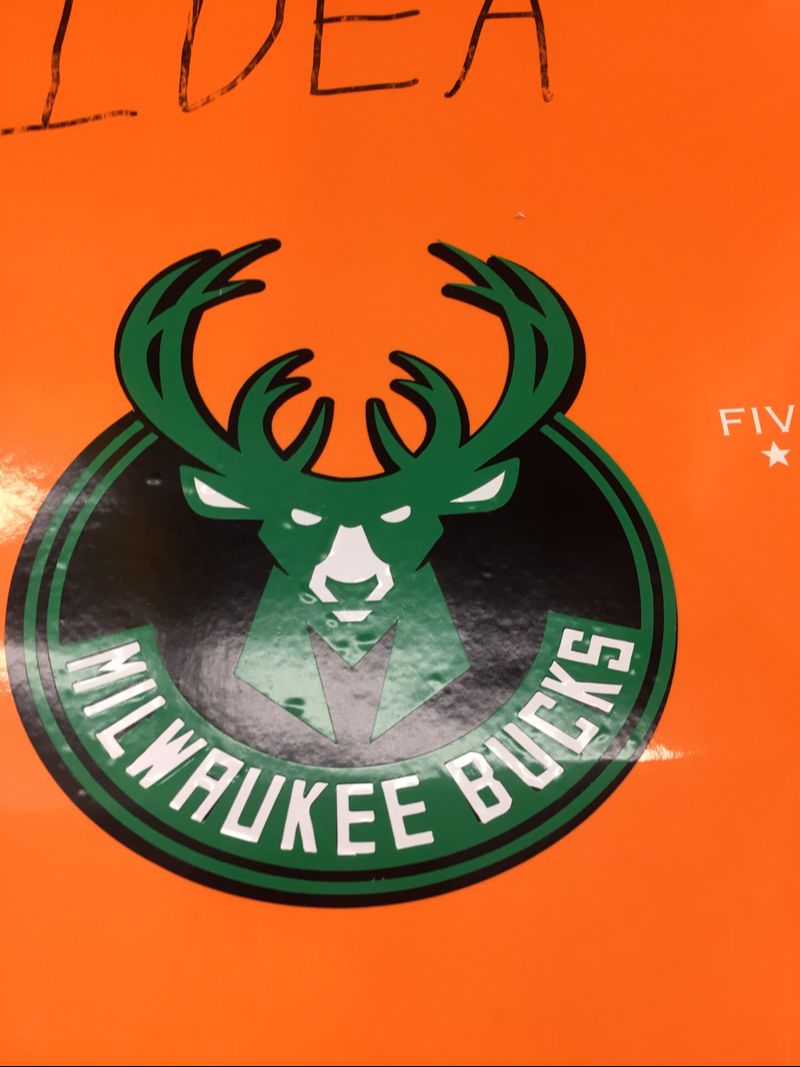
This is the finished product of my individual vinyl project. I am happy how it turned out.
What I learned
I learned how to use illustrator to create a custom decal that has more than just one color. It also taught me how to apply it well and how to apply multiple different colors to make a decal with multiple colors in it.
